Já não sou mais o mesmo. Minhas papilas gustativas já não são mais as mesmas. Tantas memórias de sabores que eu trago da infância são fontes de frustração quando eu tento saciar meus sentidos.
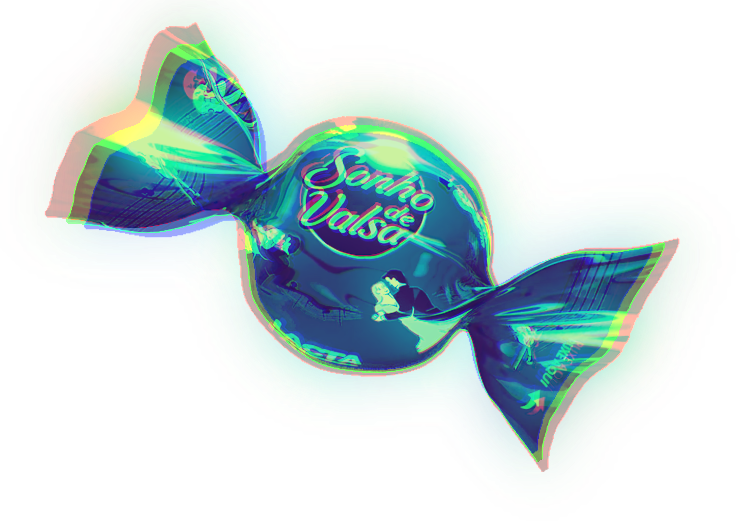
Comprei um sonho de valsa numa loja que importa coisas do Brasil.
O sonho de valsa não é mais o mesmo. Não há sonho nem há valsa. Nem eu sou mais o mesmo mas eu sei que o aqui não foi meu paladar que mudou ou minha memória que me traiu. É bem documentado. Sai o chocolate ao leite e entra cobertura de gordura vegetal hidrogenada.
É nítido o contraste entra a expectativa de um sabor, potencializado pela saudade, com um gosto ruim associado a um chocolate de menor qualidade. O gosto parece daqueles chocolates guarda chuvinha. Sem nenhum desrespeito ao chocolate guarda chuvinha, eles eram ótimos. Eles tinham o gosto que você esperava deles. Eles sabiam o que eles era. Sabe quem não sabe o que é? O sonho de valsa. Bombom sonho de valsa? Pra sonegar imposto eles dizem que nem mais bombom ele é. Opa, sonegar não, maximizar elisões tributárias.
Eu nunca vou perdoar o que eles fizeram com o Passatempo Recheado. O Choquito também se foi. Se foi tudo, eu acho. E prefiro achar, nem quero saber. Não quero ter tantas decepções.

Meu amigo, se você ainda tem a oportunidade eu recomendo que deixe esses sabores nos braços da saudade. Eles tem a marca. Eles lucram com a sua nostalgia. Procure o que há de bom hoje. O chocolate ainda existe e resiste por aí.