Check out the all parts of the Mortal Kombat Arcade Cabinet from Arcade1UP serie:
- Part 1: out of the box
- Part 2: Raspberry PI and custom buttons and joystick
- Part 3: More buttons
- Part 4: Sound and lights
Previously I showed the Mortal Kombat Arcade Cabinet from Arcade1UP – Part 1: out of the box. Now I’m showing how to modify it with a Raspberry PI so it can play a full set of arcade games. I’m also replacing the original buttons and joysticks.
I would like to thank and recommend the ETA PRIME’s ‪Arcade1UP Raspberry Pi Install Tutorial – RetroPie in an Arcade1UP video. I’m following almost the same steps and parts but adapting a few things to use equipment I already had or to suit my personal preferences.
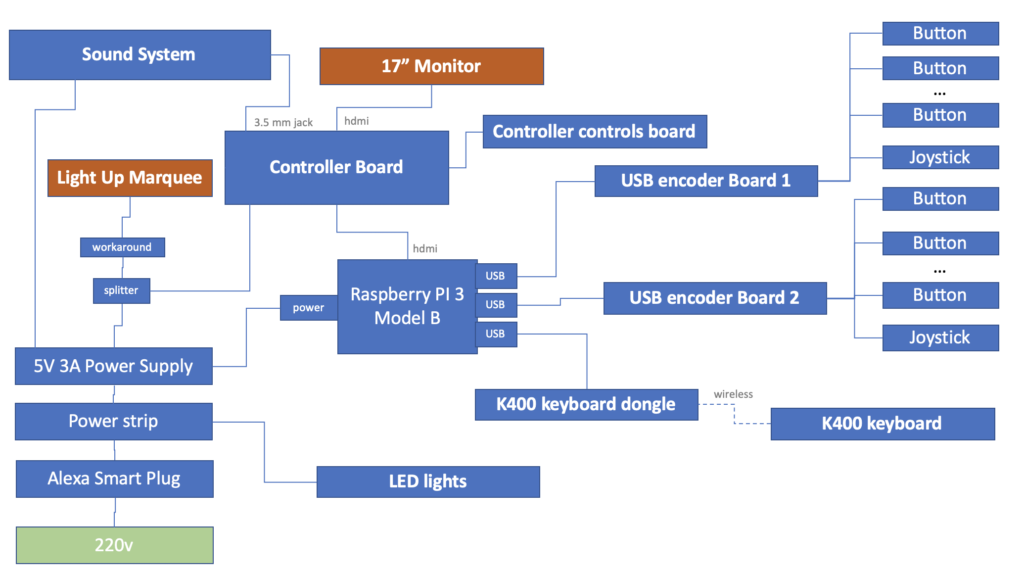
What I’m showing here was done with an Arcade1UP Mortal Kombat but should work for other models with little changes. One of the reasons I choose the Mortal Kombat cabinet was because the number of buttons and their layout.
Parts used
- Arcade Cabinet from Arcade1UP
- Raspberry PI 3 Model B
- HDMI+VGA+DVI+Audio Input LCD Controller Board for HSD190MEN4 M170EN06 17″ 19″ 1280×1024 4CCFL 30Pins LCD Panel
- Joystick, buttons, boards replacement kit
- Logitech K400 Plus Wireless Touch keyboard
- Cyber Acoustics CA-3602FFP 2.1 Speaker Sound System with Subwoofer
- Yuconn Micro USB with On/Off Switch Main Wall Charger AC Adapter Power Supply 5V 3A
- Kintaro Super Kuma – SNES Inspired Raspberry Pi Case
- 12V 1 to 2-way Power Splitter Adapter Cable fr CCTV Camera 5.5×2.1mm female/male
- Amazon Smart Plug
It’s worth noticing that you don’t necessarily need all these parts or these parts in specific. These were the ones I used and most of them were not bought specifically for this project and I could use them because I had around.
Replacing the joysticks and buttons
The original buttons on my MK Arcade1Up were a bit ugly and quiet. I want something more flashy and more clickly. I went with this kit on eBay that comes with 20 buttons, joysticks and encoders. The buttons have a LED inside and a round plastic chrome ring around them. They also come with everything necessary to replace the original buttons and they fit in the same 1 â…› ” (2.8575 cm) hole.
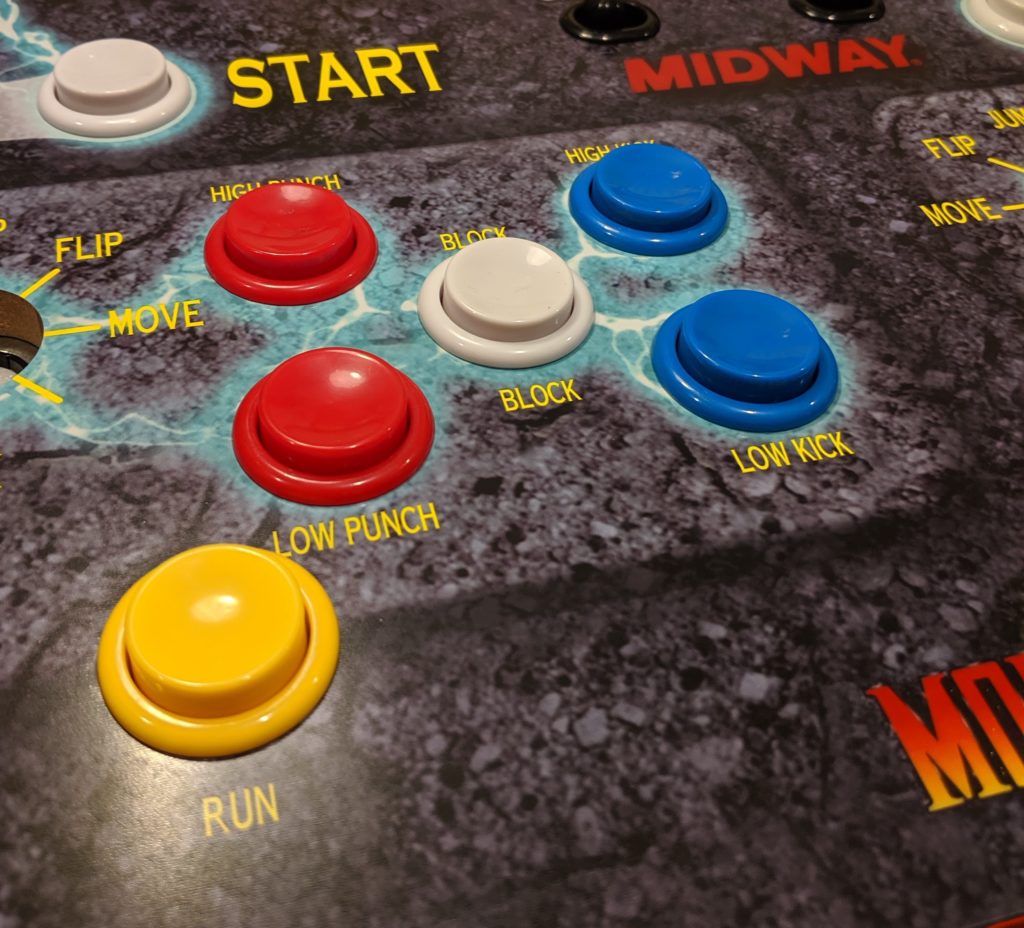
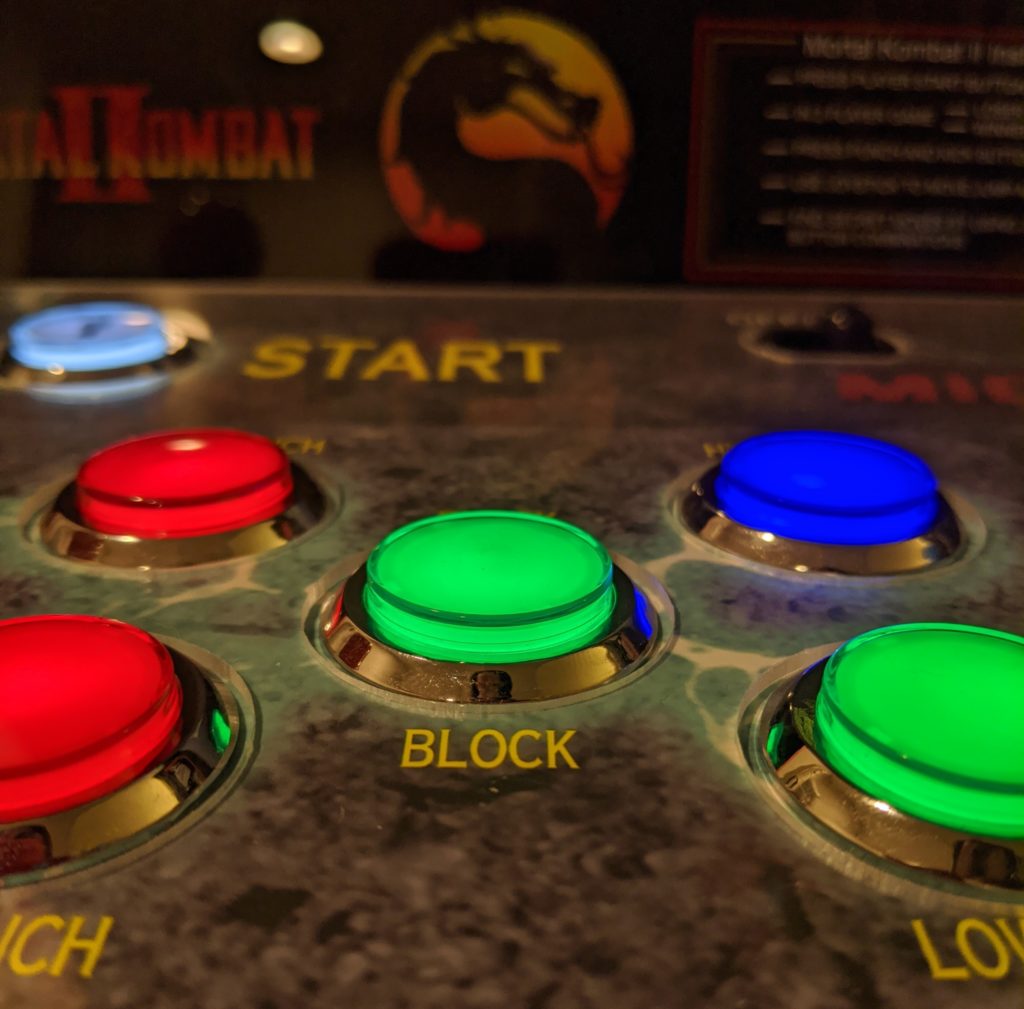
Step 1. Remove the control deck from the cabinet.
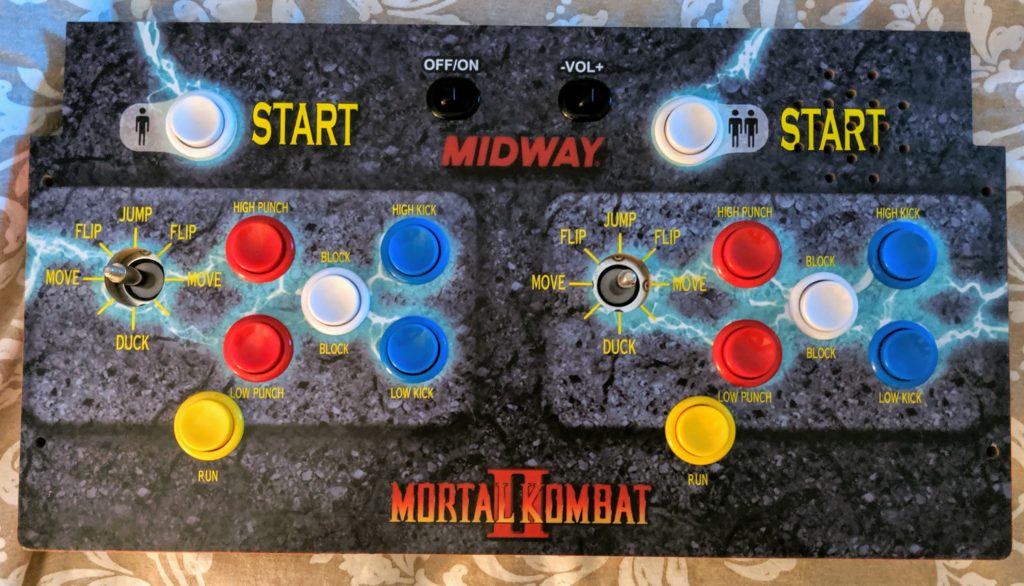
Step 2. Remove the protective black plastic case exposing the wires and circuit boards from the control deck.
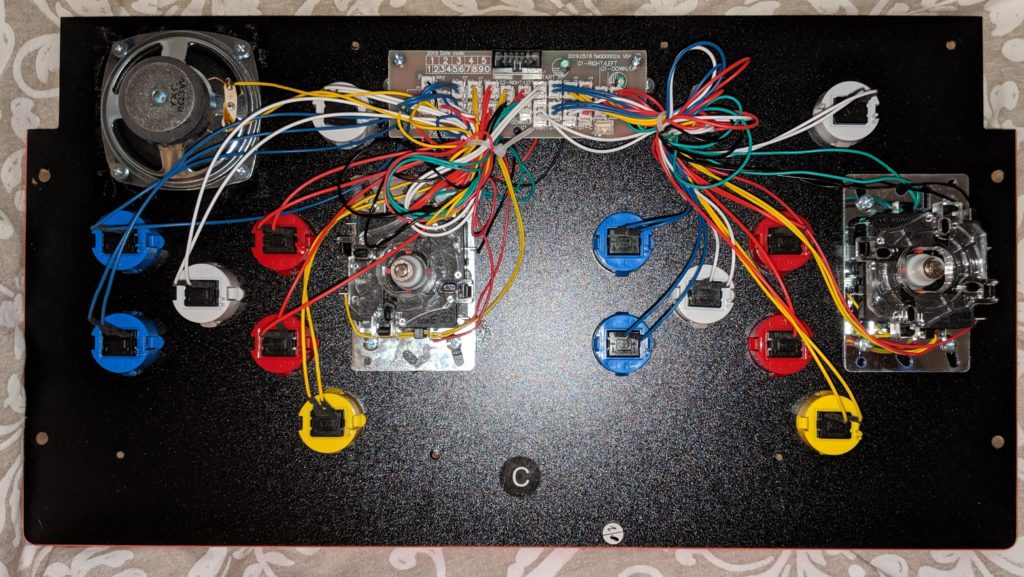
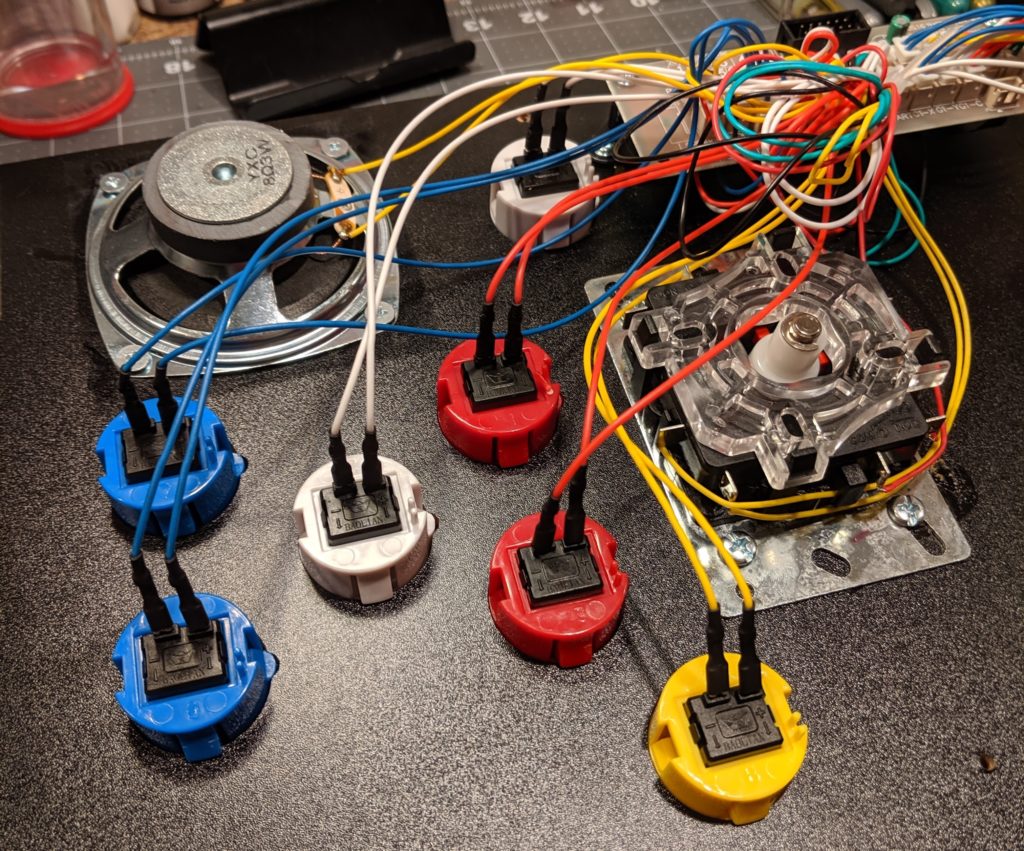
Step 3. Remove all the wires.
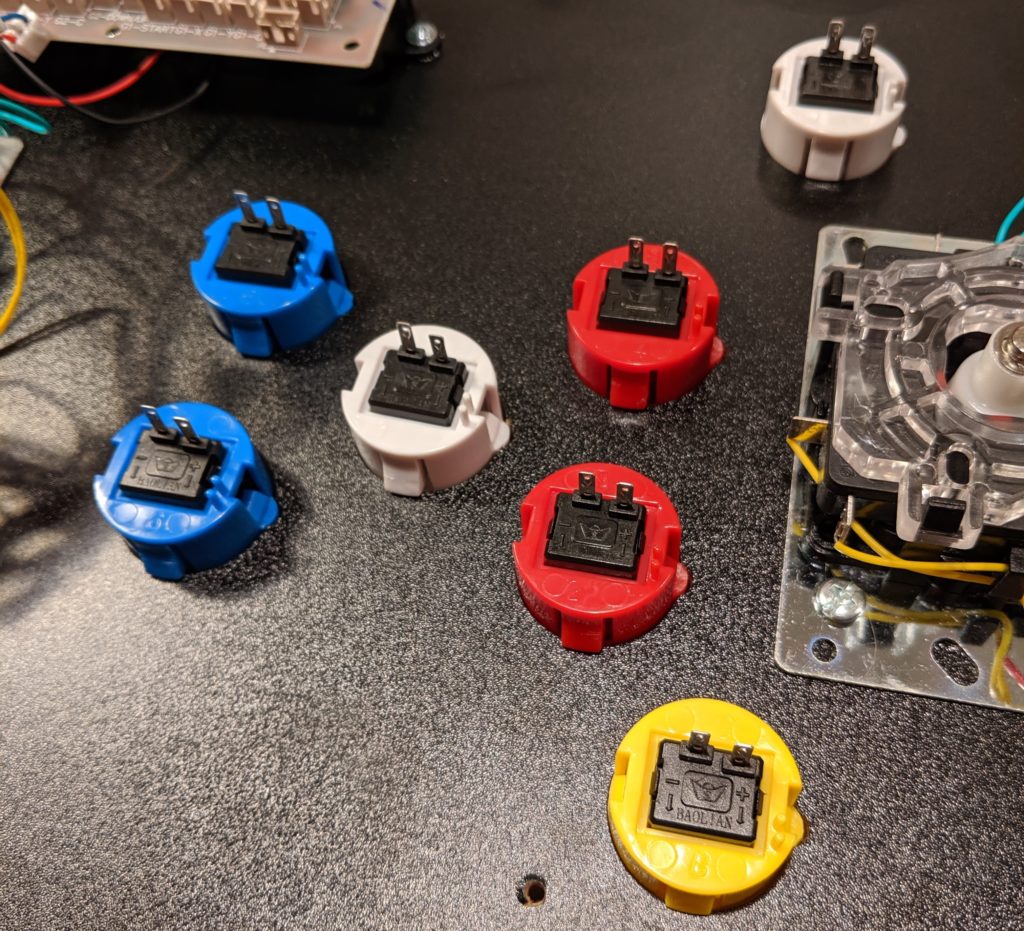
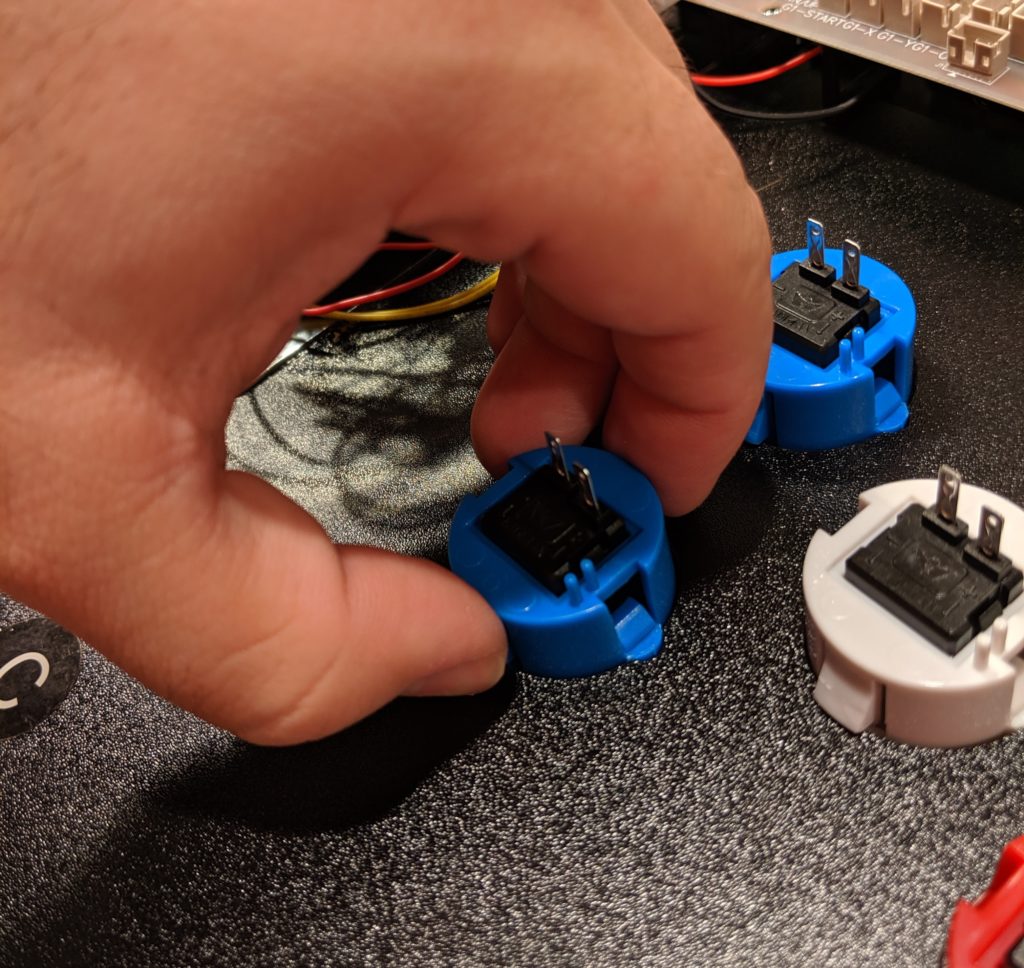
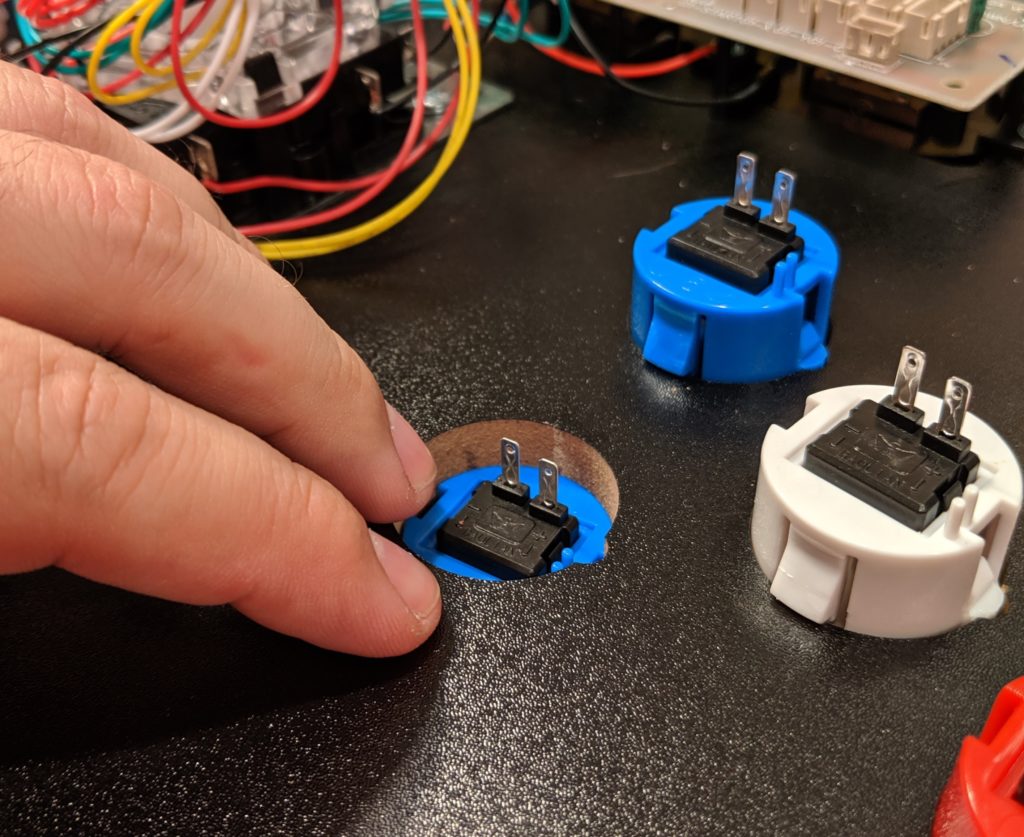
Step 4. Remove the buttons. They are a single piece. You just have to press them in their opposite bulges and they will fit to leave the hole in the front panel.
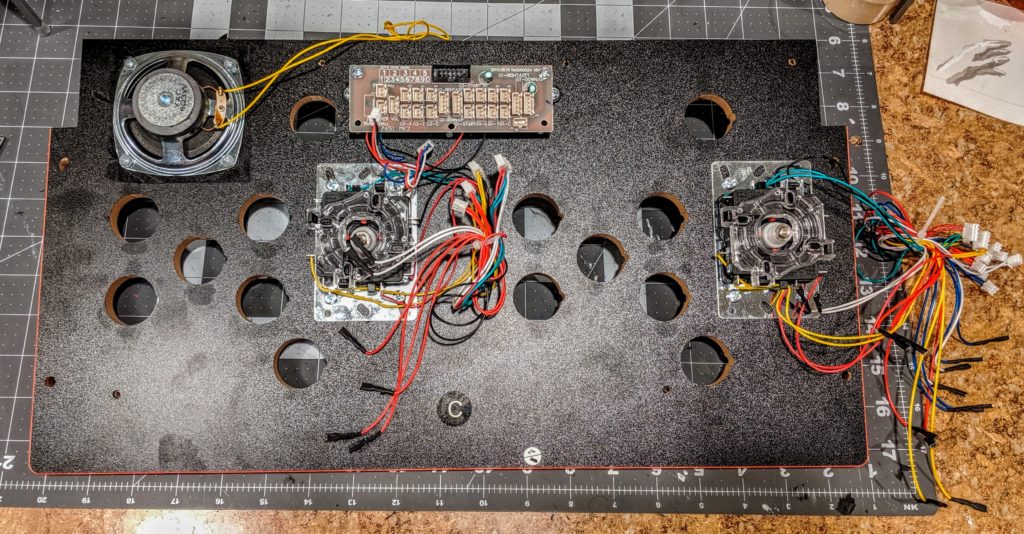
Step 5. Remove the controller board. Just unscrew it and remove it.
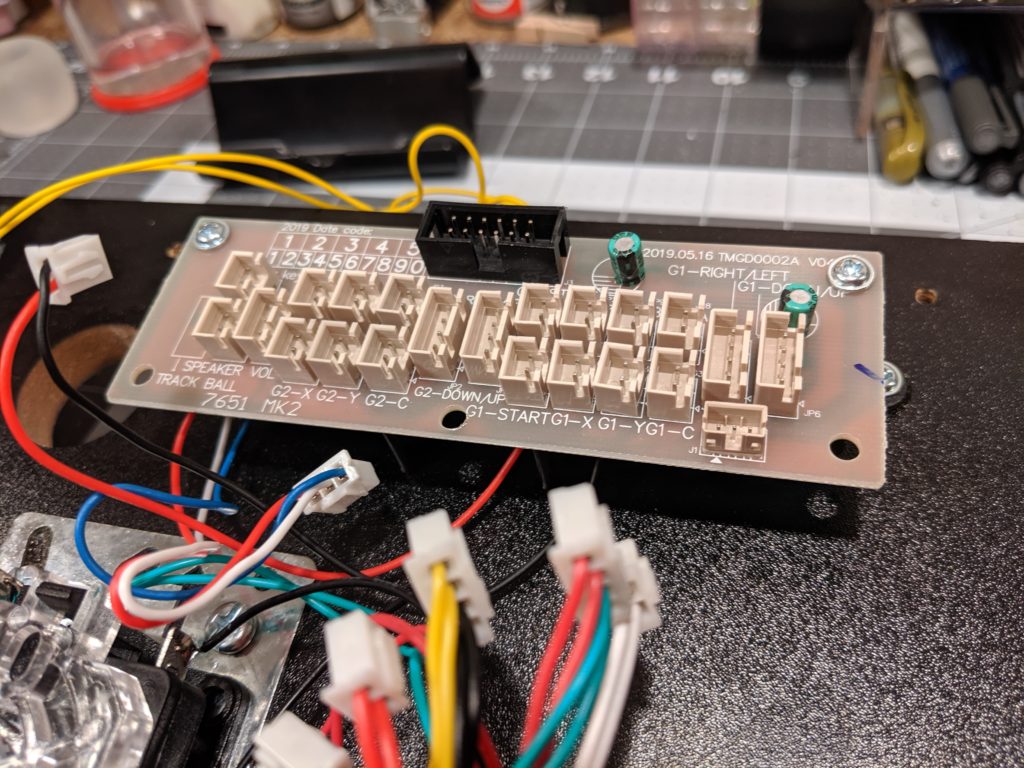
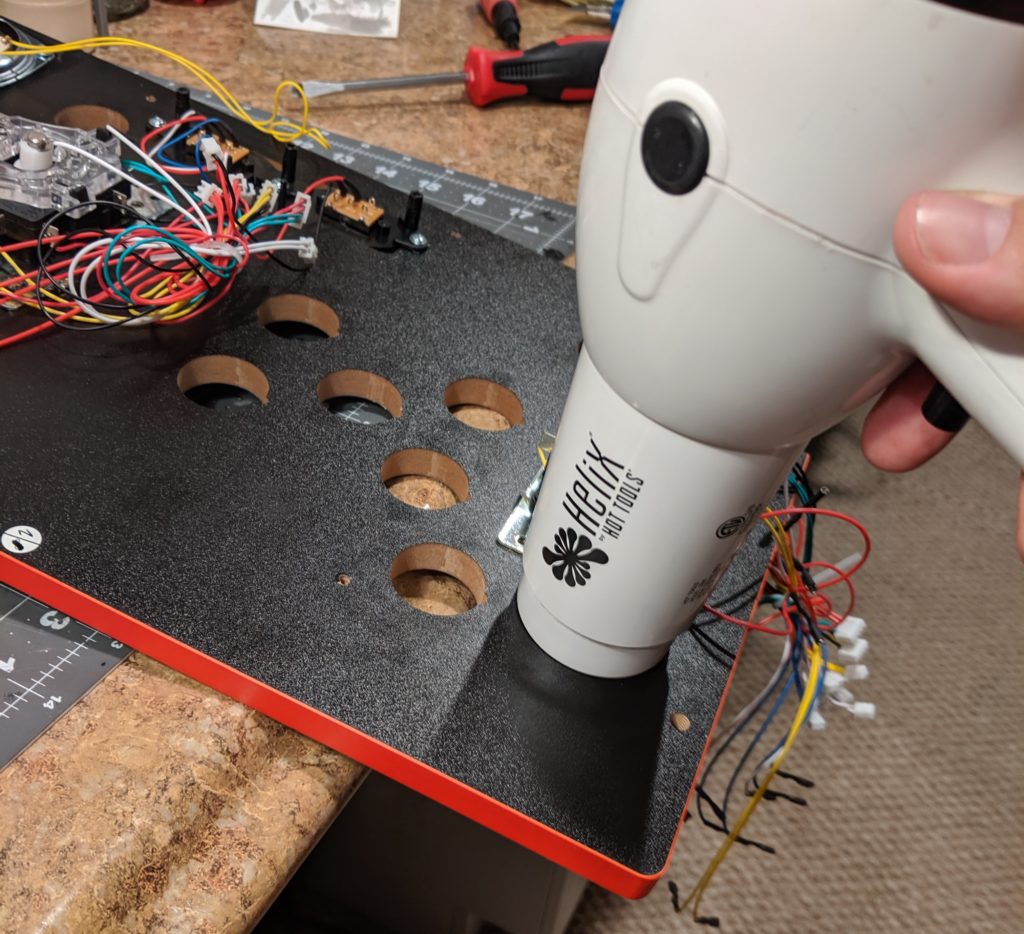
Step 6. Remove the old joysticks. First unscrew the bat top of both joysticks. Remove the screws that connect the metal plate to the board. The metal place is also glued to the board. You need to melt the glue a little so you can pry out these panels out. Here you can use a heat gun or a hair drier.
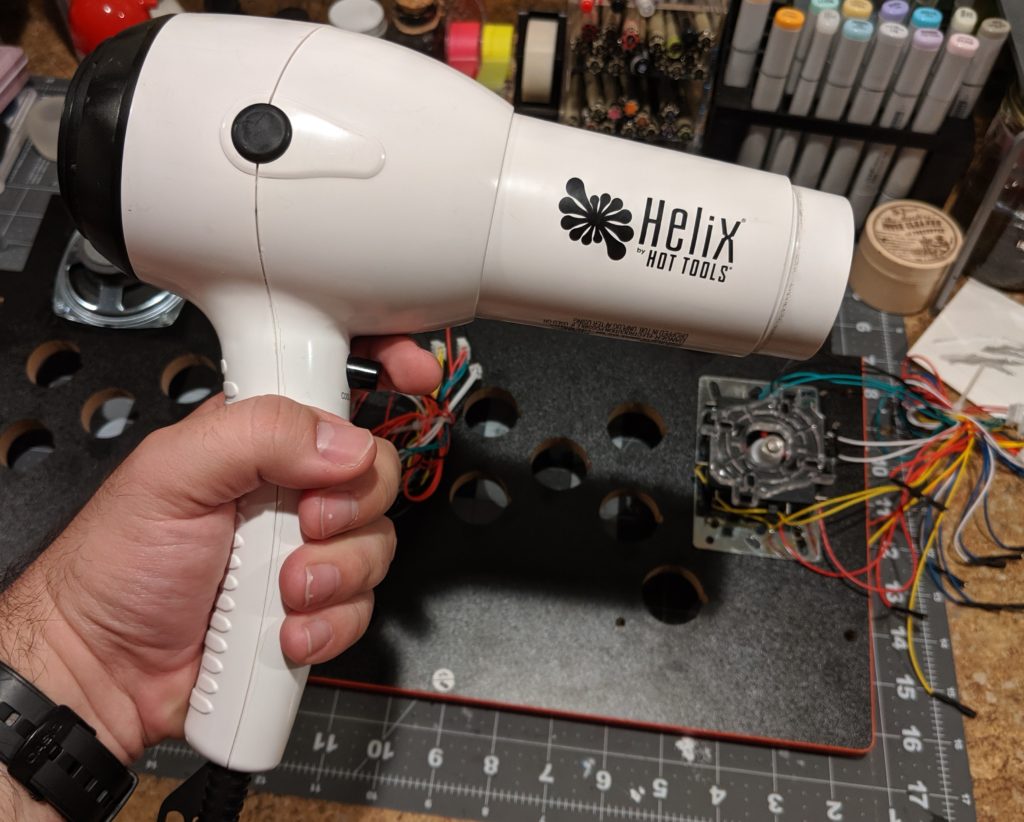
Blow some hot air directly in the metal panel. The smell of the carcinogenic fumes you are breathing means the glue is now melting.
Use a knife or a screwdriver to pry out the metal plate. You can heat a little and pry a little until the whole plate is out.
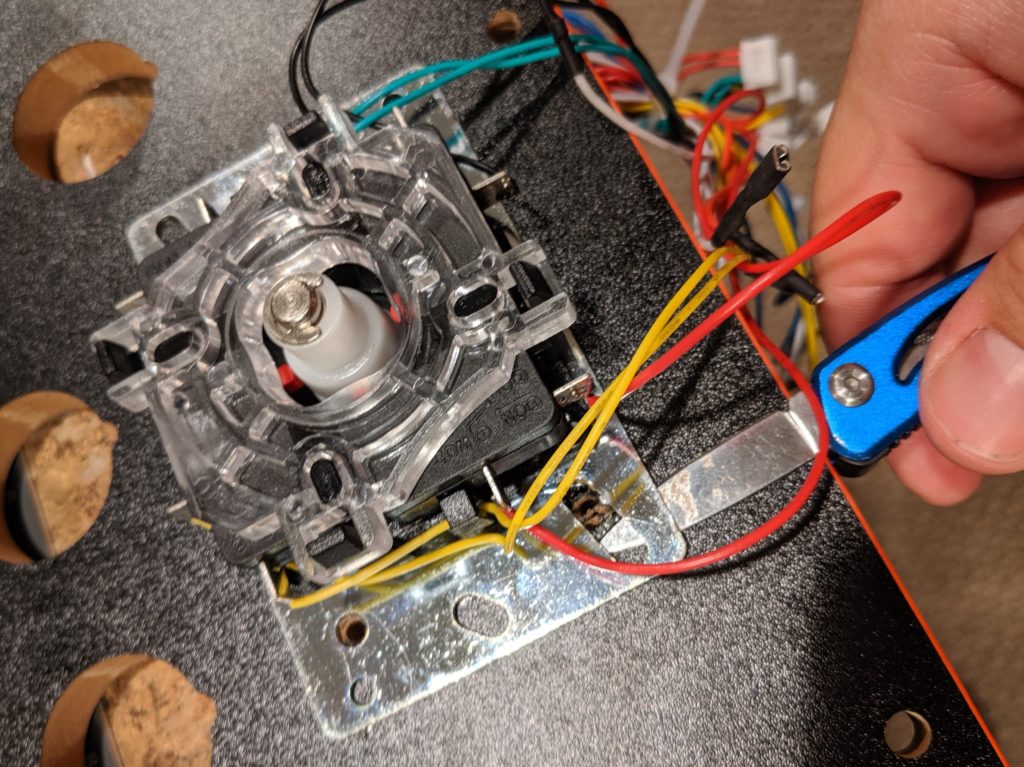
For now I’m not removing the speaker and switches.
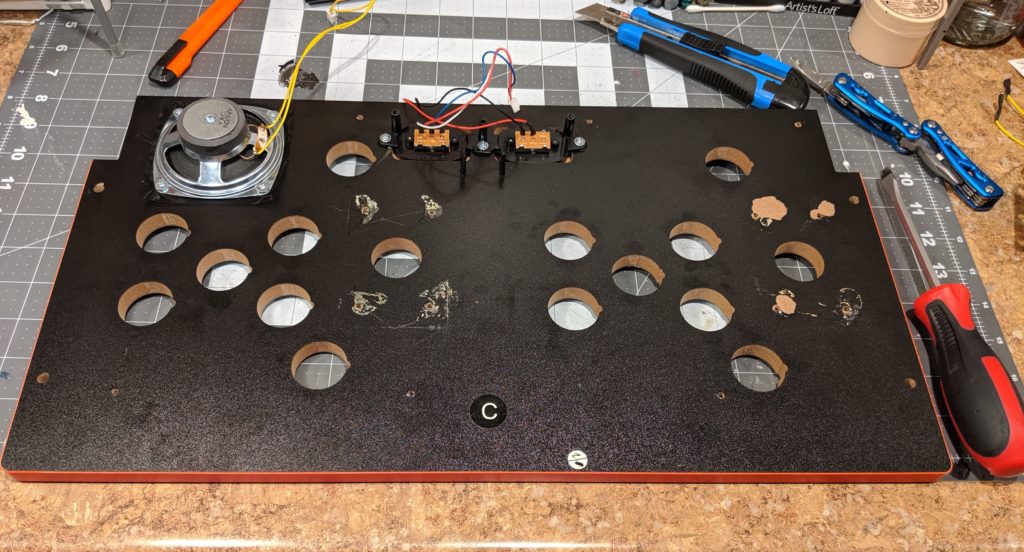
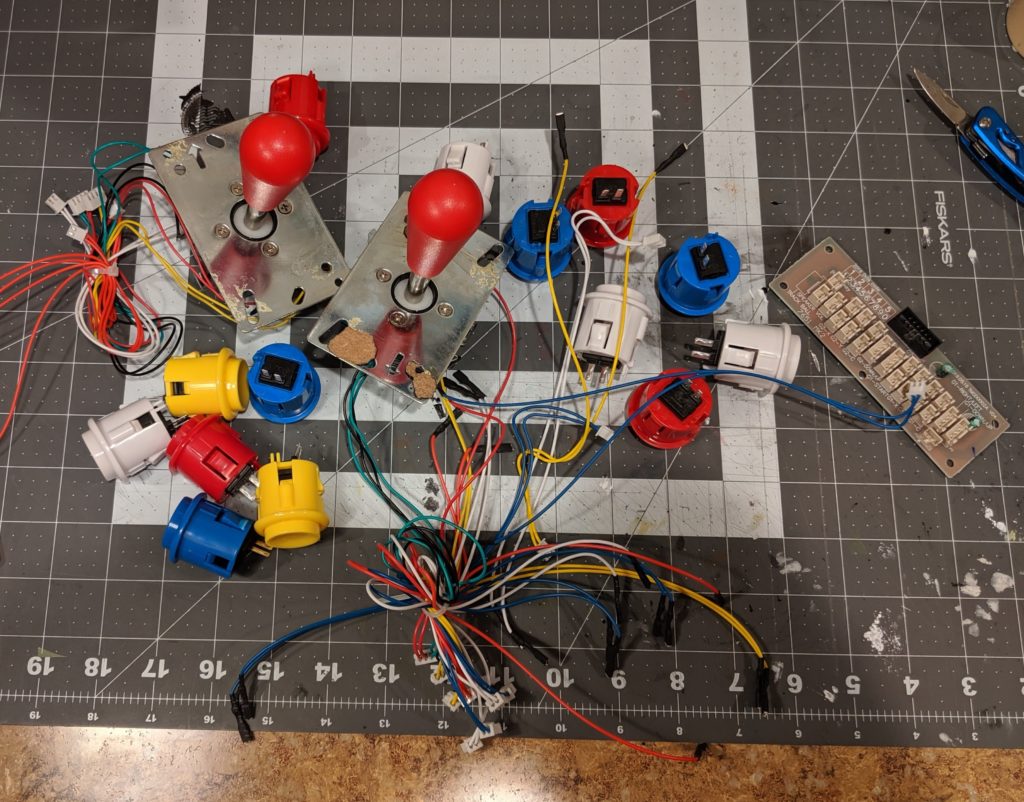
Step 7. Install the new buttons. These buttons are a little bit different from the original ones. They have two pieces, the mechanical part and the connectors and LED. You can separate them by twisting. They also have a plastic nut that help fix them to the board.
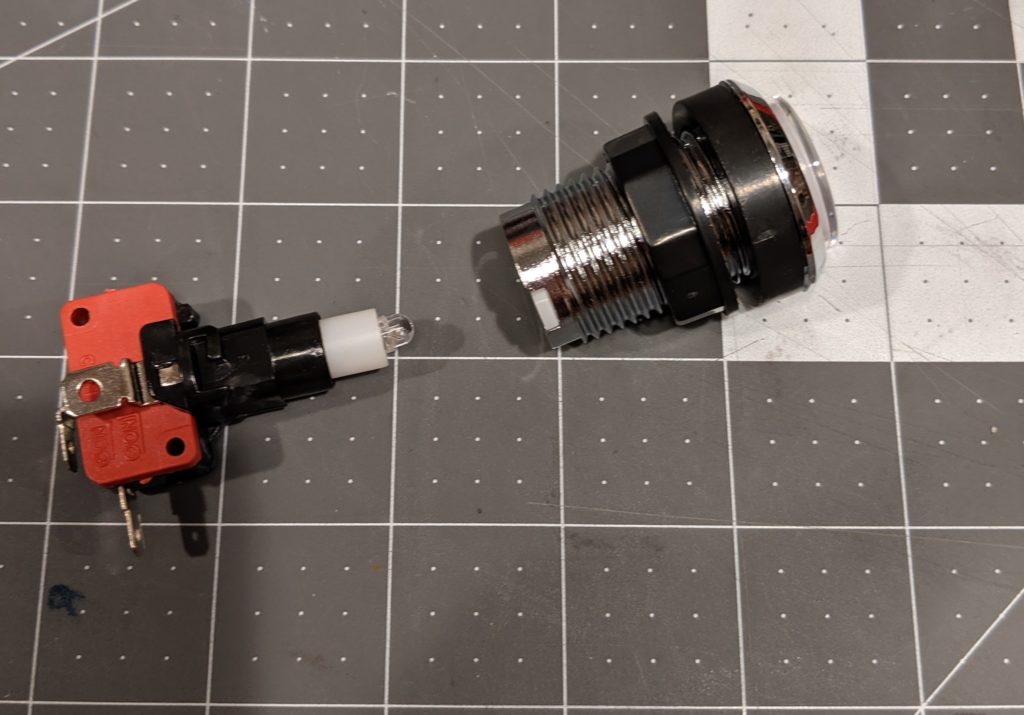
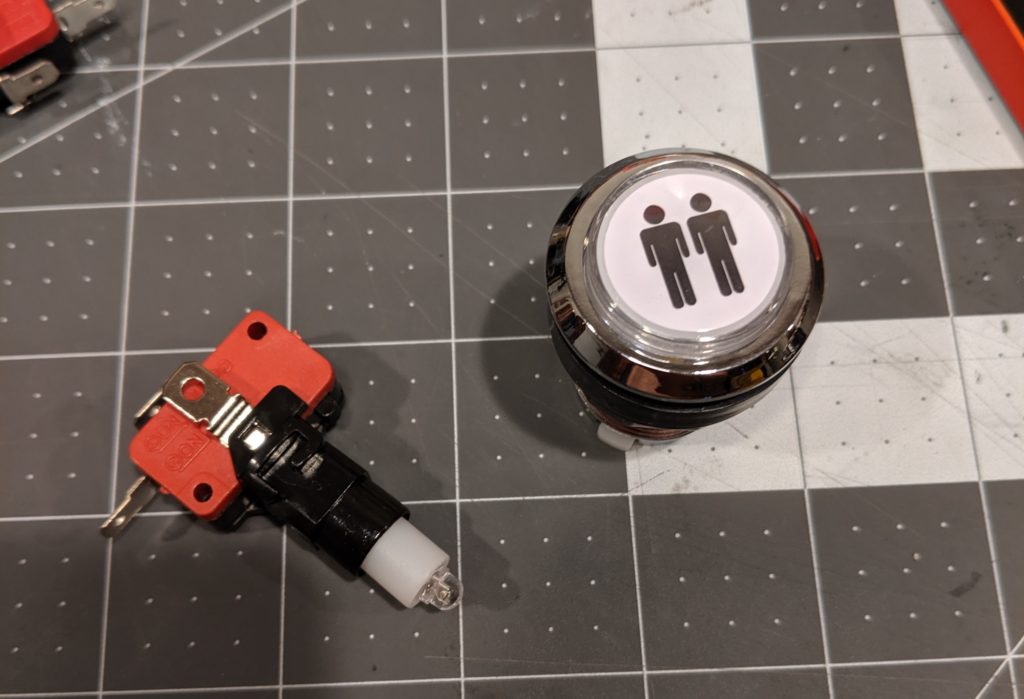
At this step you have the option to choose the color schema for your buttons. I choose something symmetrical. The button assignment is done later in software.
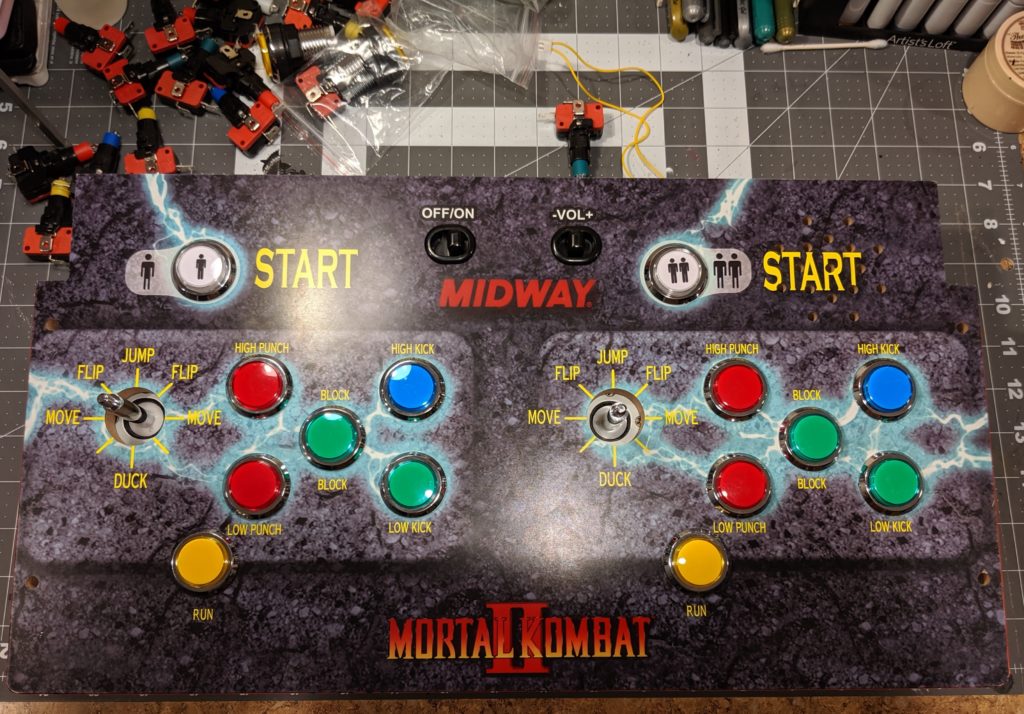
Step 8: Install the joysticks. Remove the bat top from the joystick. Insert it into the panel. Put the screws.
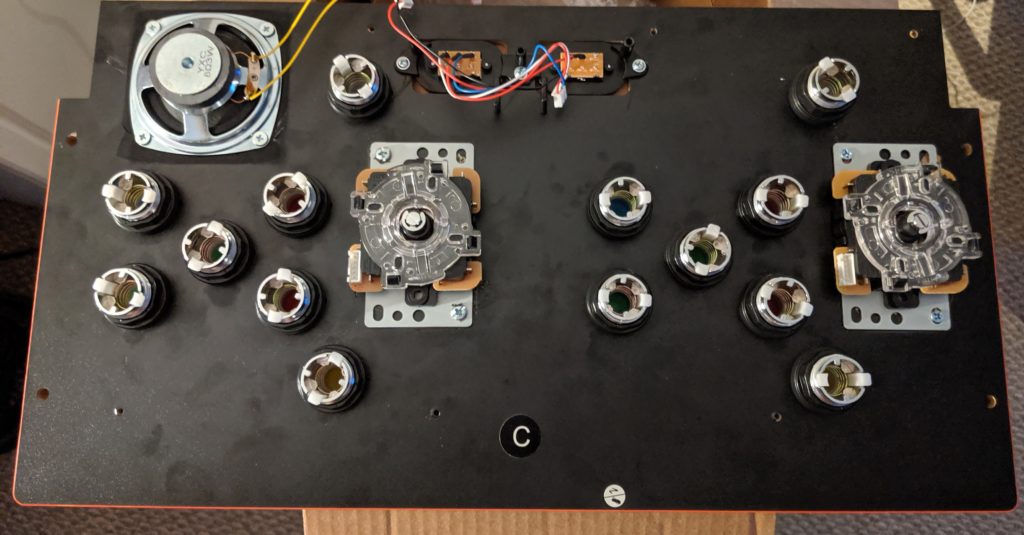
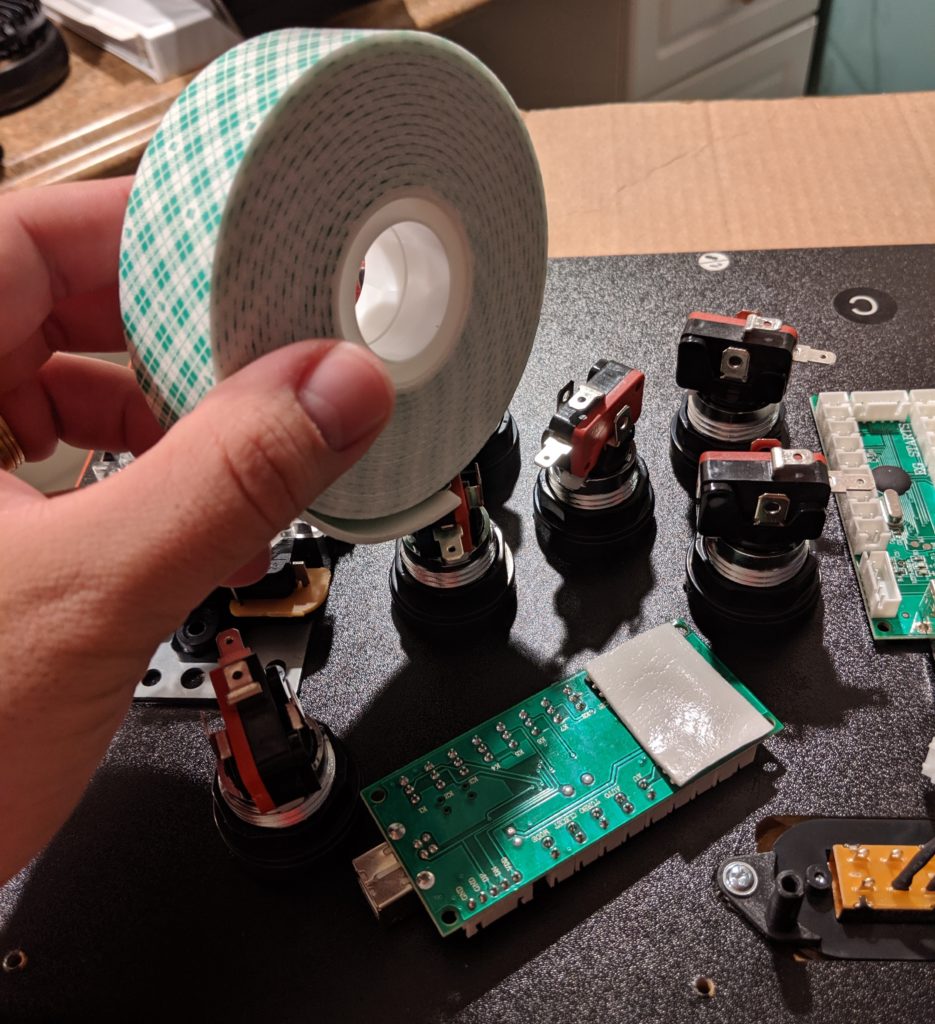
Step 9. Mount the USB control boards. I used Scotch Permanent Mounting Tape for this. Little screws would also do the job. When choosing where to mount them keep in mind the distance between the board and the buttons and also the USB wires.
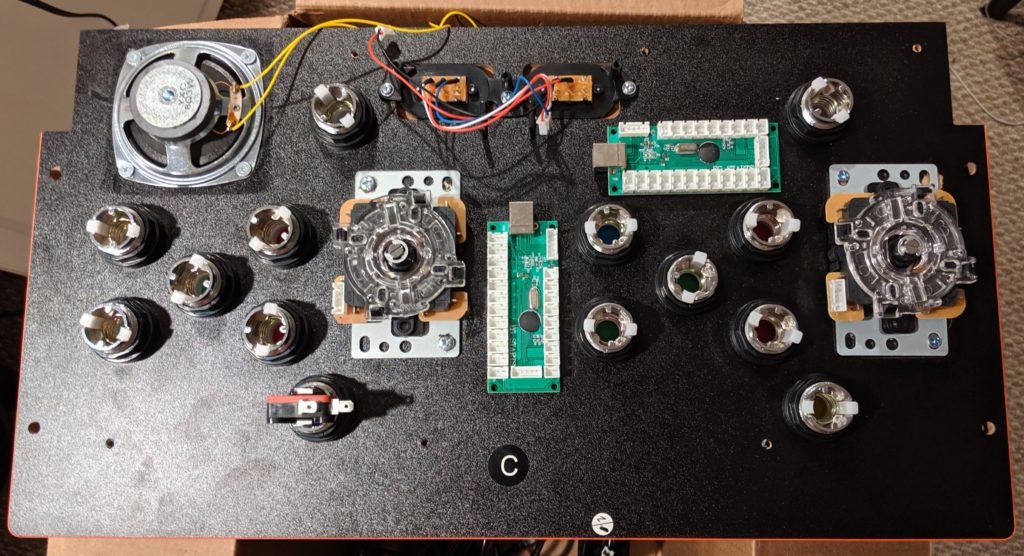
Step 10. Assemble the other end of the buttons. Just twist them in place.
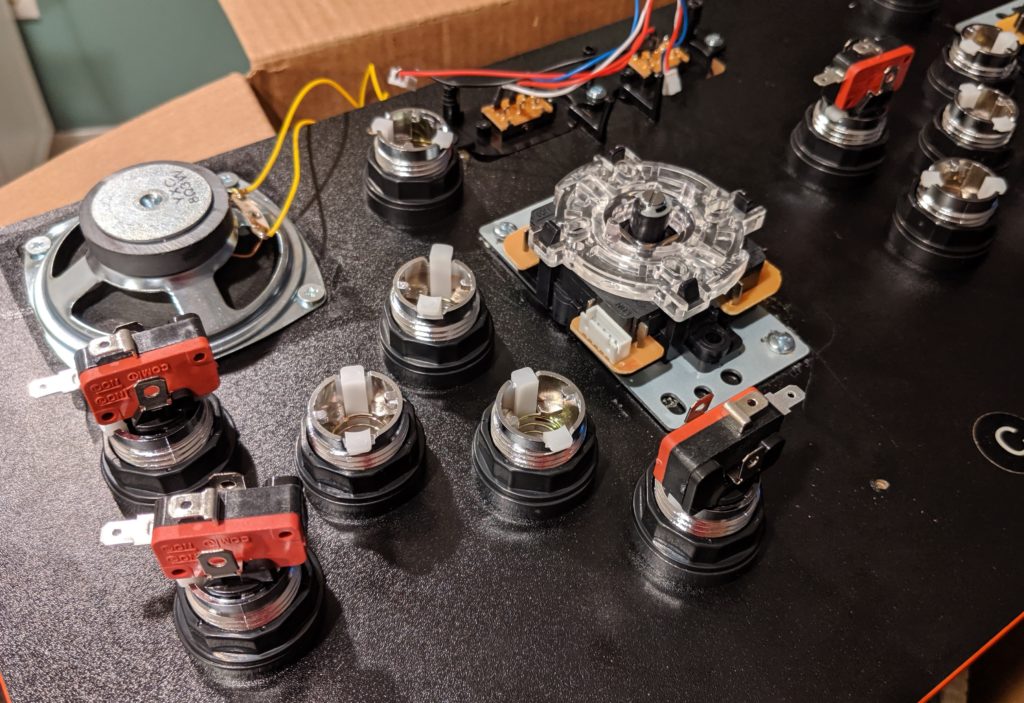
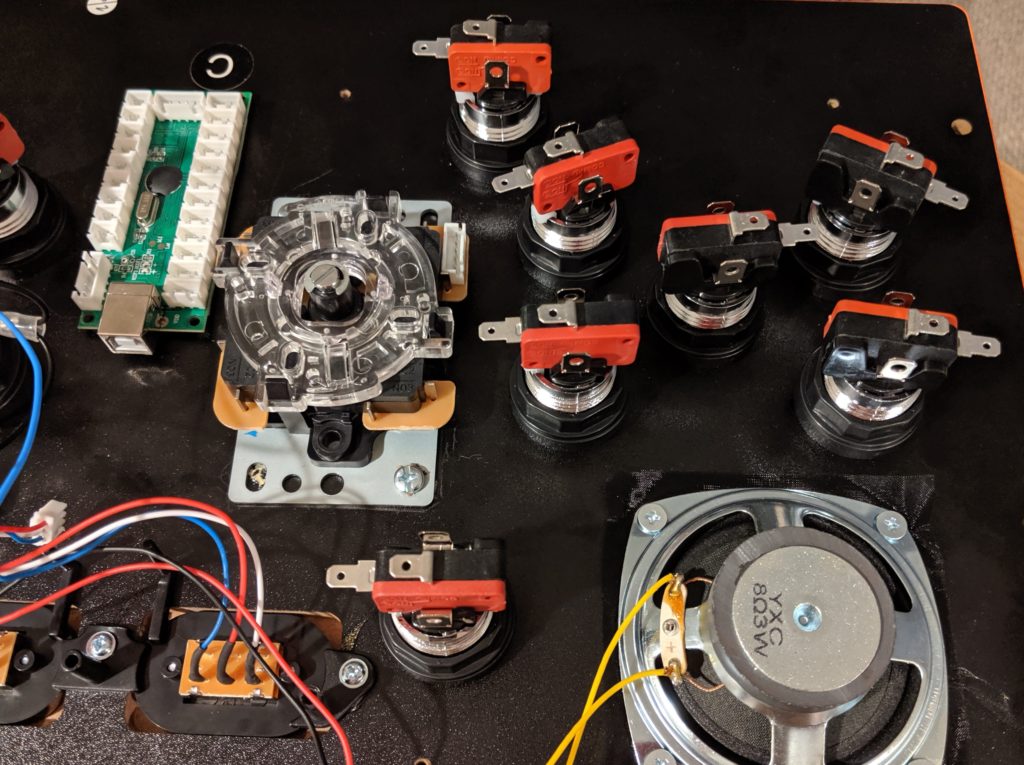
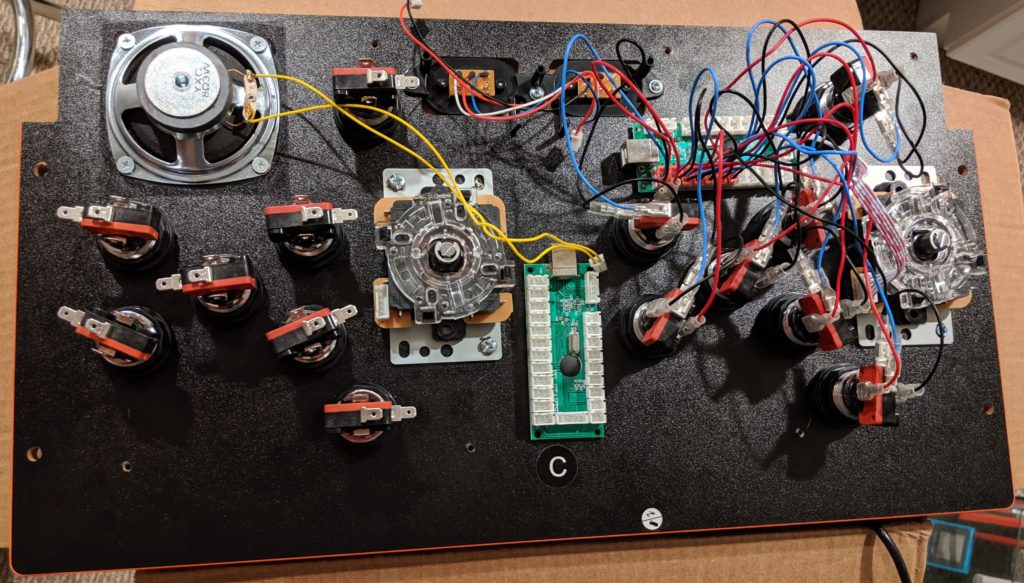
Step 11. Install the wires. Each button will expose four connectors. Check your manual for the proper color schema for the wires. They are different depending on the kit you choose and the kit you get.
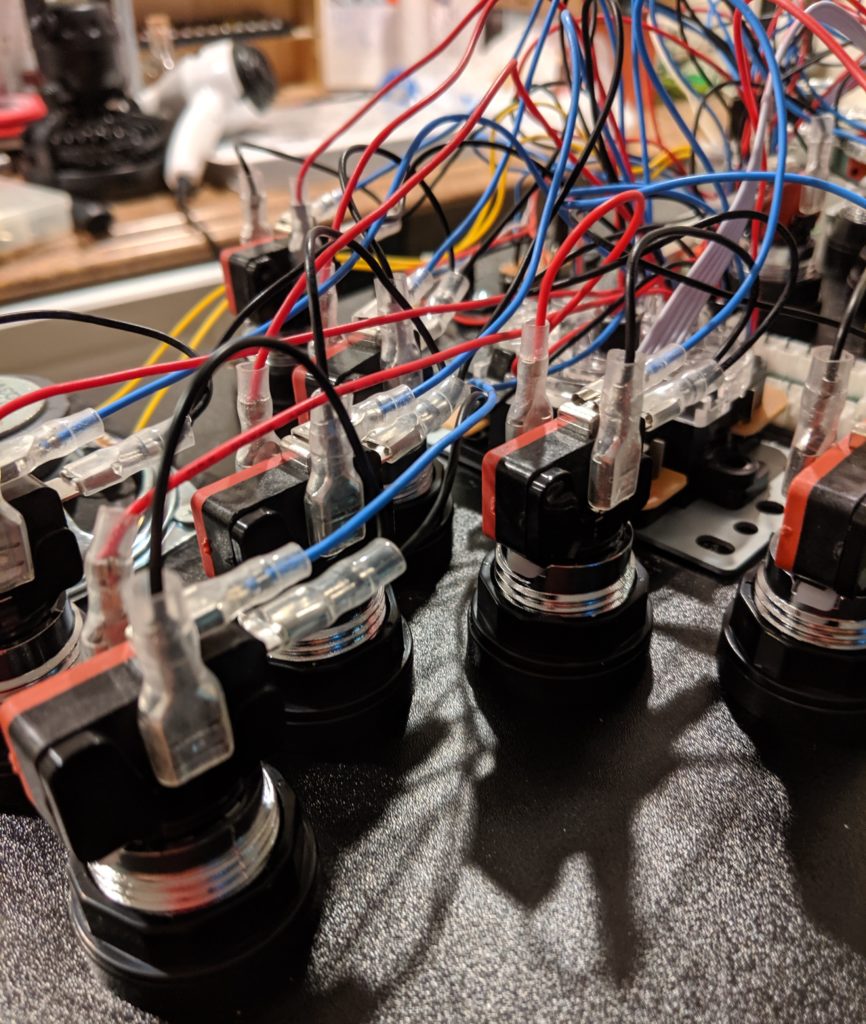
The order that you put the connectors in the board is not really important because the configuration will be done later in software.
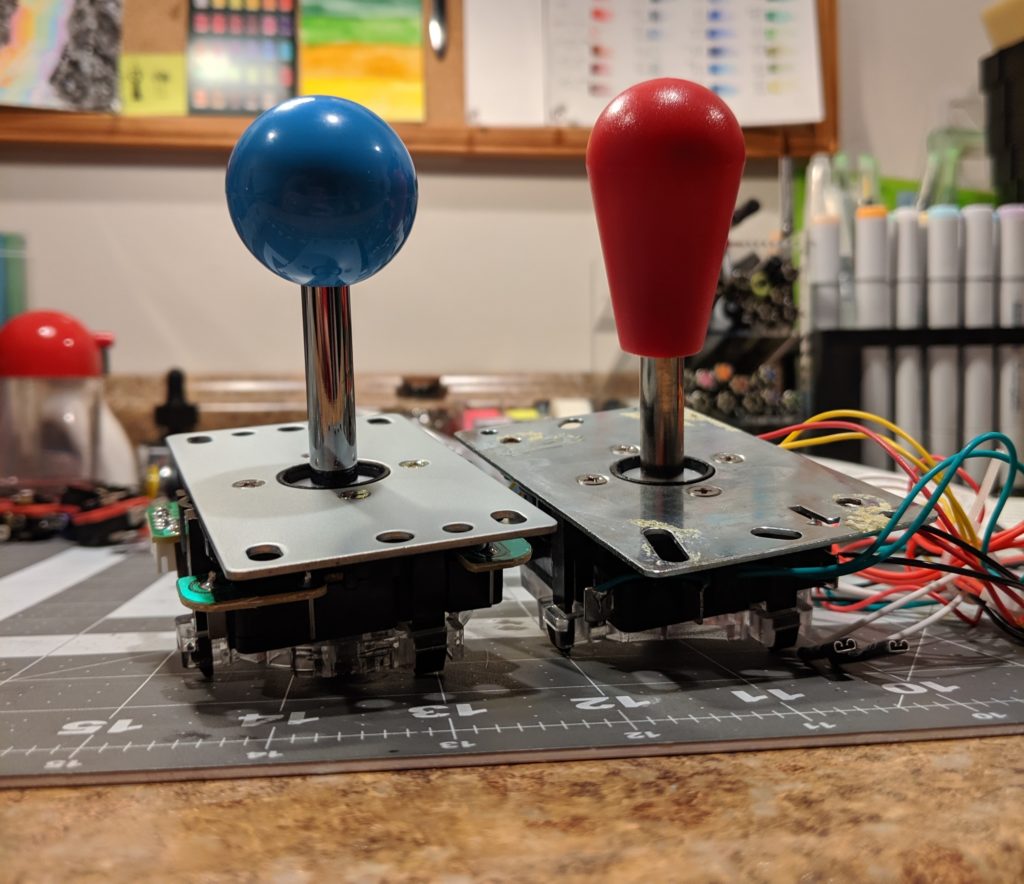
Step 12. Screw the joystick handle back. You can use the new joystick handle but can reuse the old one as well. The new joystick came with a balltop handle (left) and the original joystick had a battop handle. The handle is fixed screwing. You can easily change it latter without need of any tools.
Step 13. Testing everything. I this point I would recommend putting the protective plastic case back but secured by only a few screws because you will very likely reopen it soon to fix some buttons.
Plug the two USB cables from the encoding boards to a computer.
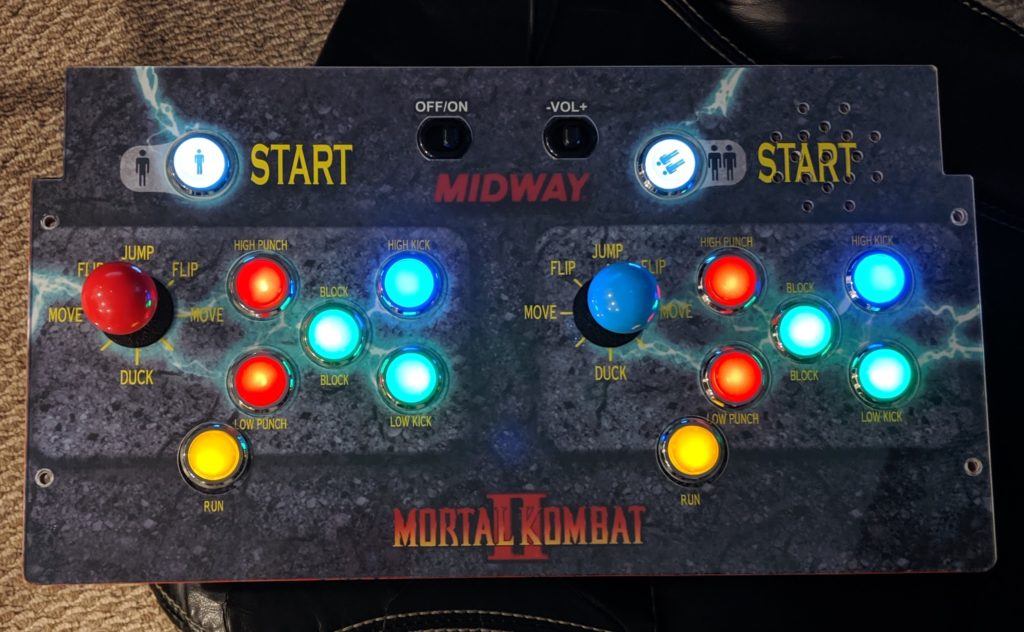
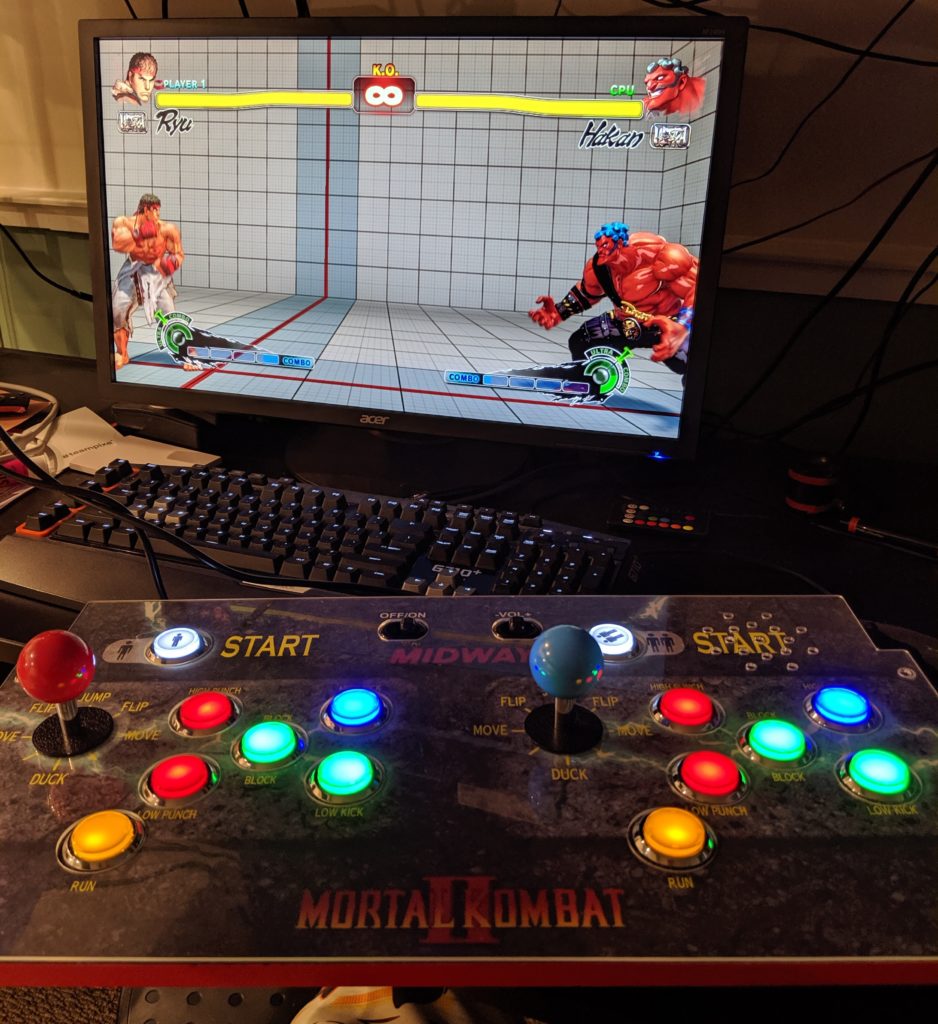
The first test is to check if the lights. If a light is not on it is probably because the wires are not correctly connected. If it is not that, then the LED could be failing. My kit came with some extra LEDs and components (but it was not necessary so far).
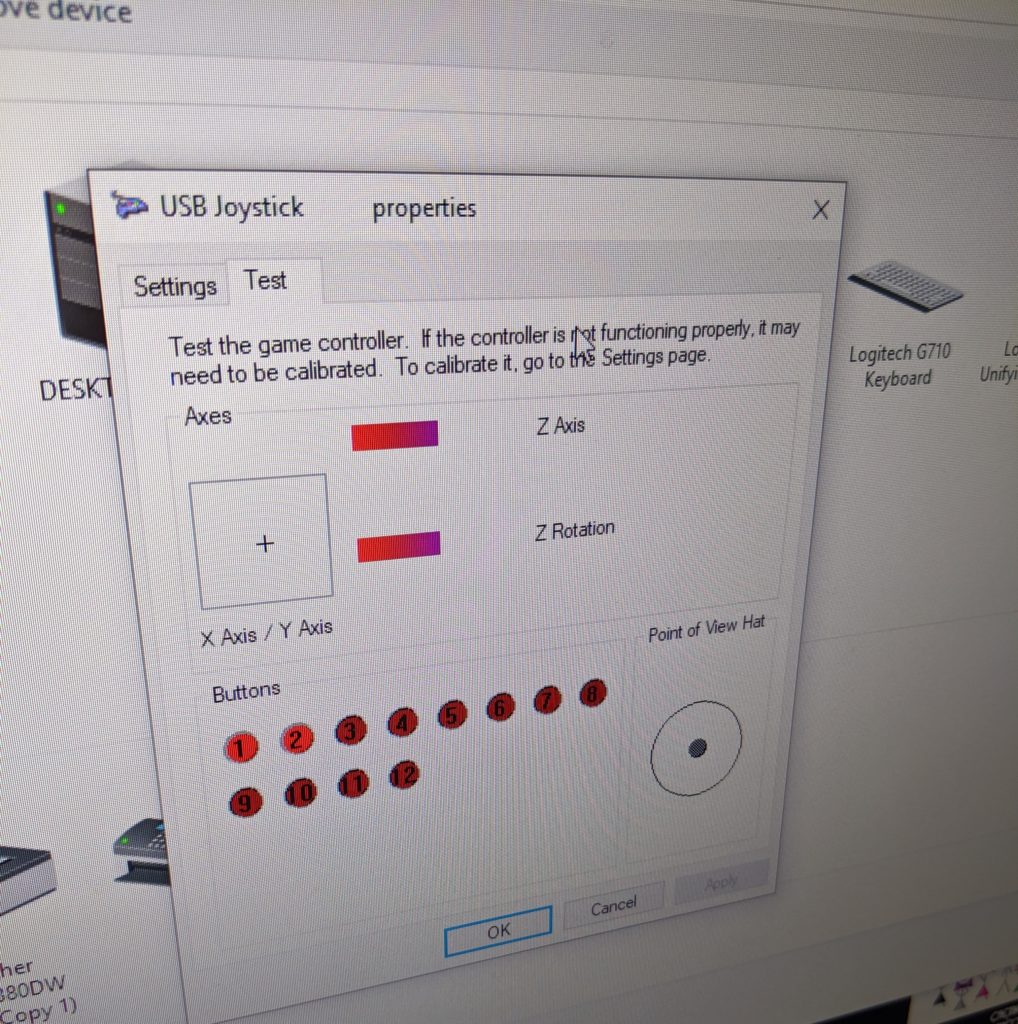
You can also test the whole control deck as two completely functional controls with the PC. Windows should auto-detect the boards as two USB joysticks.
Installing the controller board
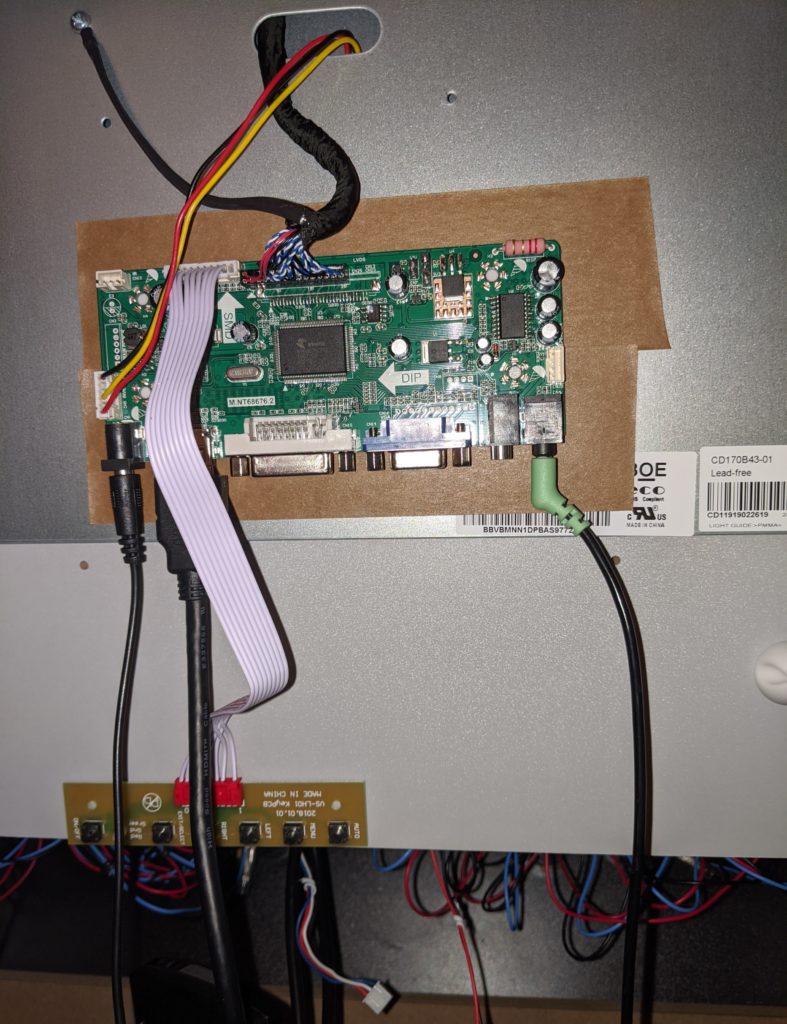
The original monitor from an Arcade1UP cannot be directly used with a video cable like HDMI. I’m using this kit for this. Make sure the code in the back of the Arcade1UP monitor matches the one in the description of the product.
Step 1. Remove the metal box case with the original board from the monitor. This case holds the mother board of the original Arcade1UP. Remove the cables and remove it from the cabinet.
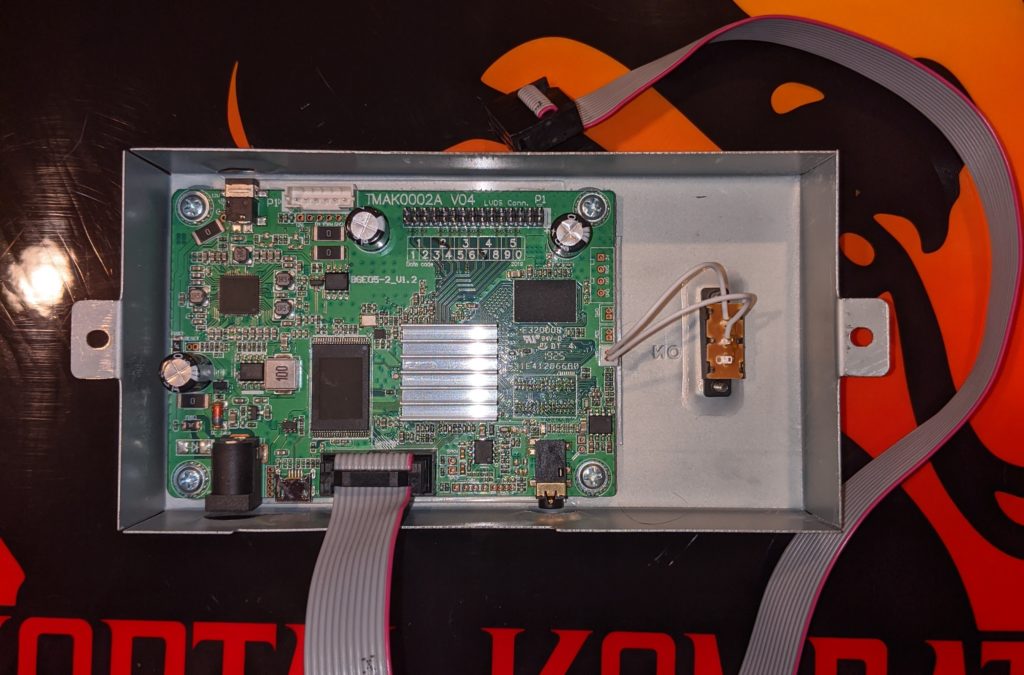
Step 2. Install the new board. I put some tape in the back metal panel of the monitor and used double face tape to fix the new controller board.
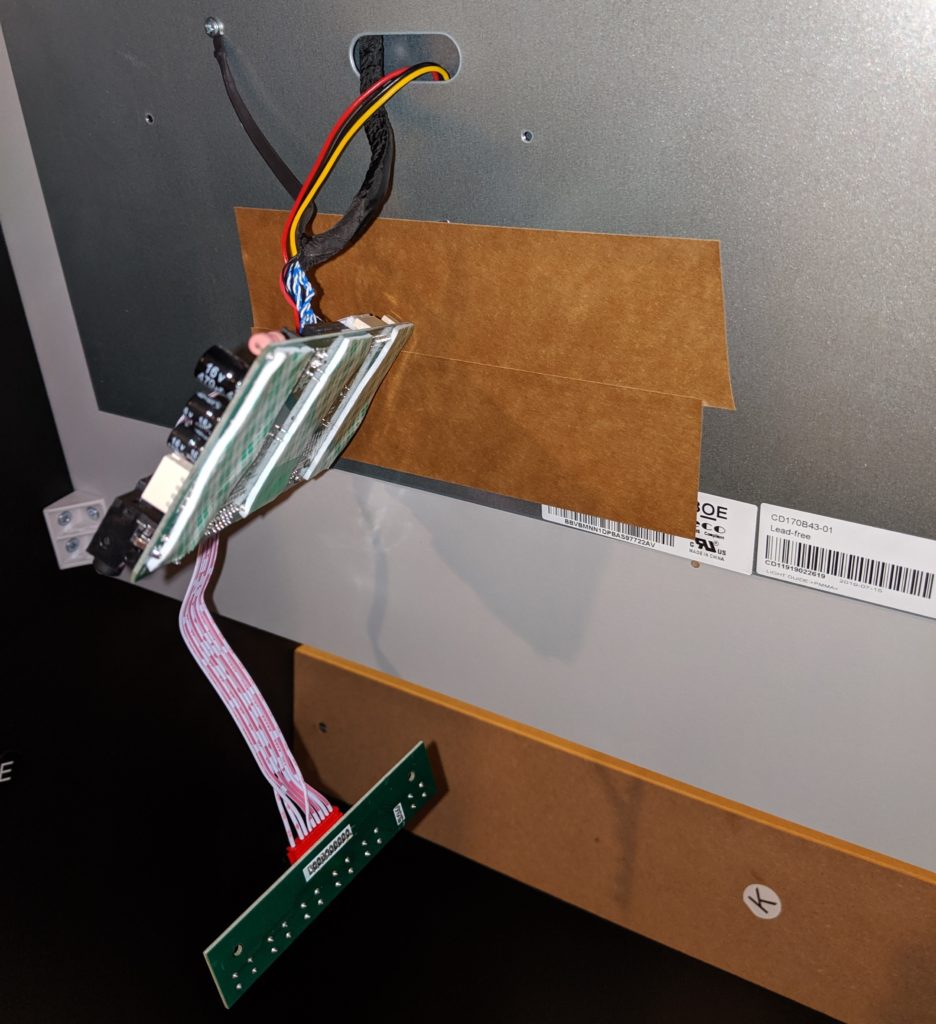
The power supply is the same from the original board. This board now receives a video input (HDMI, VGA, VGI) and displays it in the monitor. The smaller board with 6 buttons are like buttons in a TV where you can change volume, brightness, etc.
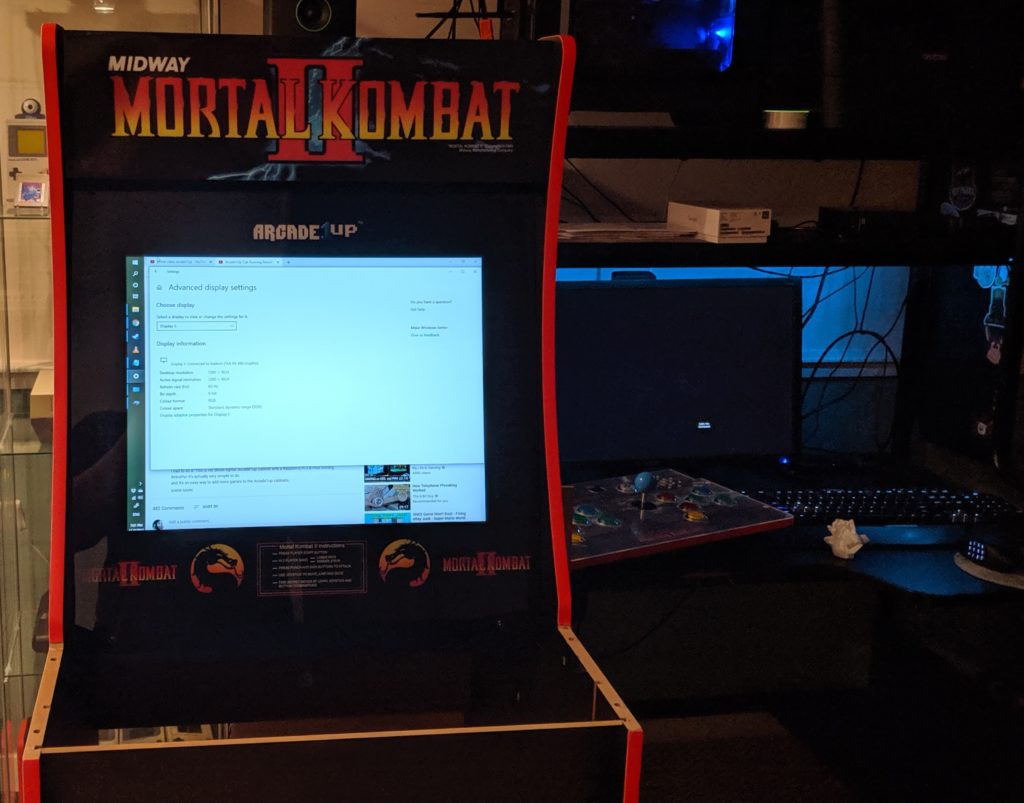
Step 3. Test you can display external video in this monitor. Just grab an HDMI cable from your PC and plug into the controller board. It should just display it like an external monitor.
Installing the Raspberry Pi
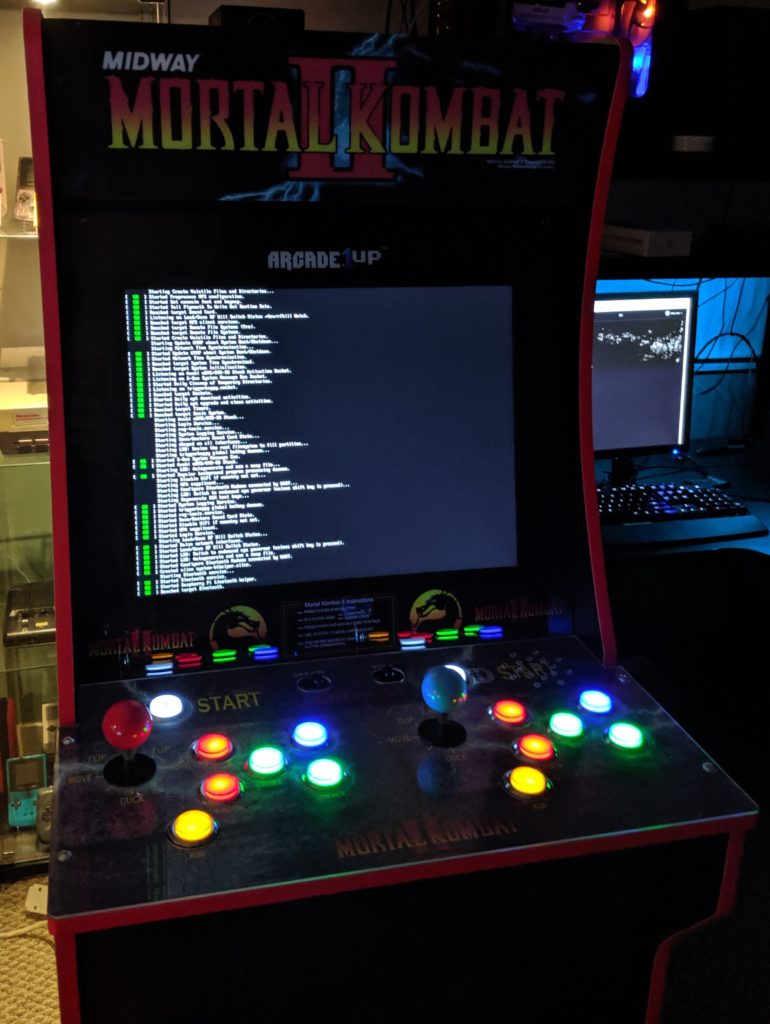
A Raspberry Pi is pretty much a tiny Linux computer. It has everything on a single package (memory, CPU, motherboard, etc). I’m using RetroPie as a distribution. Retropie comes with everything you need but the actual game ROMs.
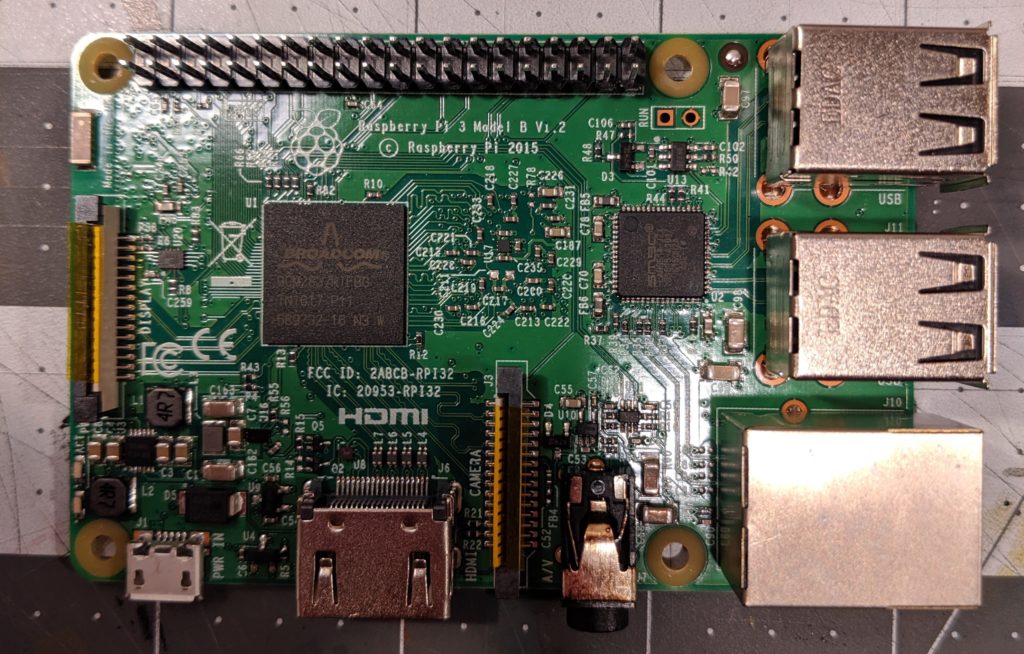
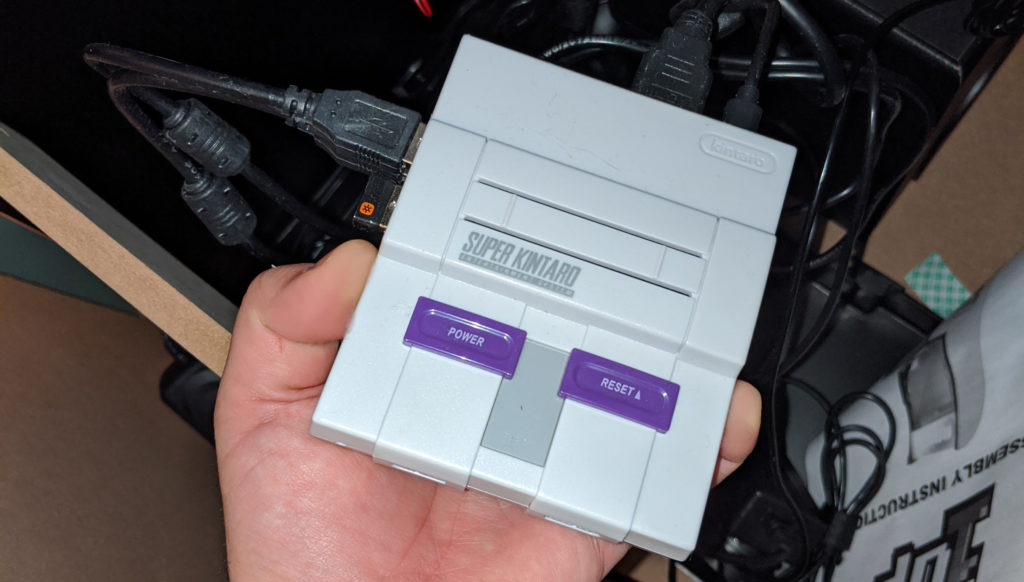
When I was building this I noticed that the Raspberry Pi 3 had the best compatibility and was working well with most of emulators and games. This is likely changing in the future so if I was building another machine now I would check this again. I already had a RPi 3B with a case (Kintaro Super Kuma) from another project.
For now I’m not going to put here fine grained details on the RPi installation and configuration. In short, you need to download RetroPie, make a bootable SD card with it, stick it into the RPi and boot it. There are many ways to add games but the most practical one I found was via network using SMB (Samba) at “\\RETROPIE “. Making sure the files are in the correct folders for each emulator. For example rooms for Game Boy should be at “/home/pi/RetroPie/roms/gb/” and for Neo Geo at “/home/pi/RetroPie/roms/neogeo/”.
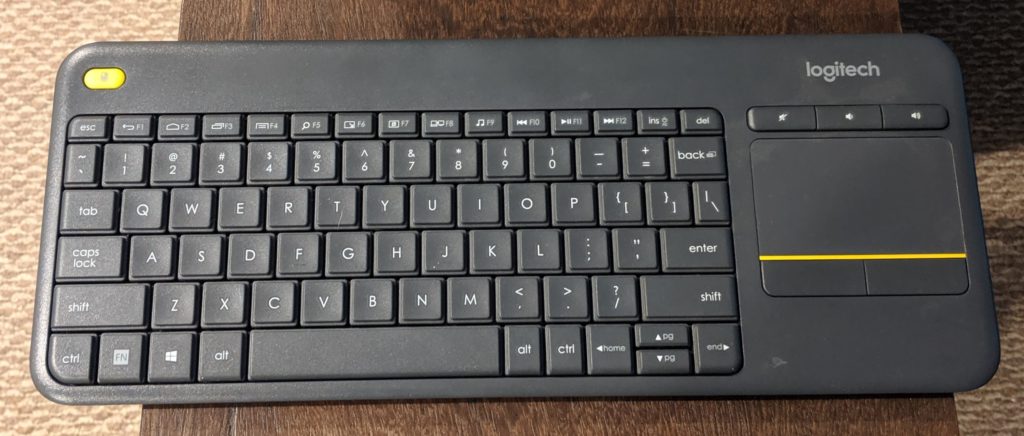
To make the whole process easier I highly recommend using a wireless keyboard like the Logitech K400 Plus that already comes with a touchpad. It’s small, takes only a USB slot and is great keyboard to have around for projects like this. You can press Ctrl + Alt + F2 to access the Raspberry pi terminal (F3 to F6 for TTY3 to TTY6 respectively). Retropie default user is pi and default password is raspberry.
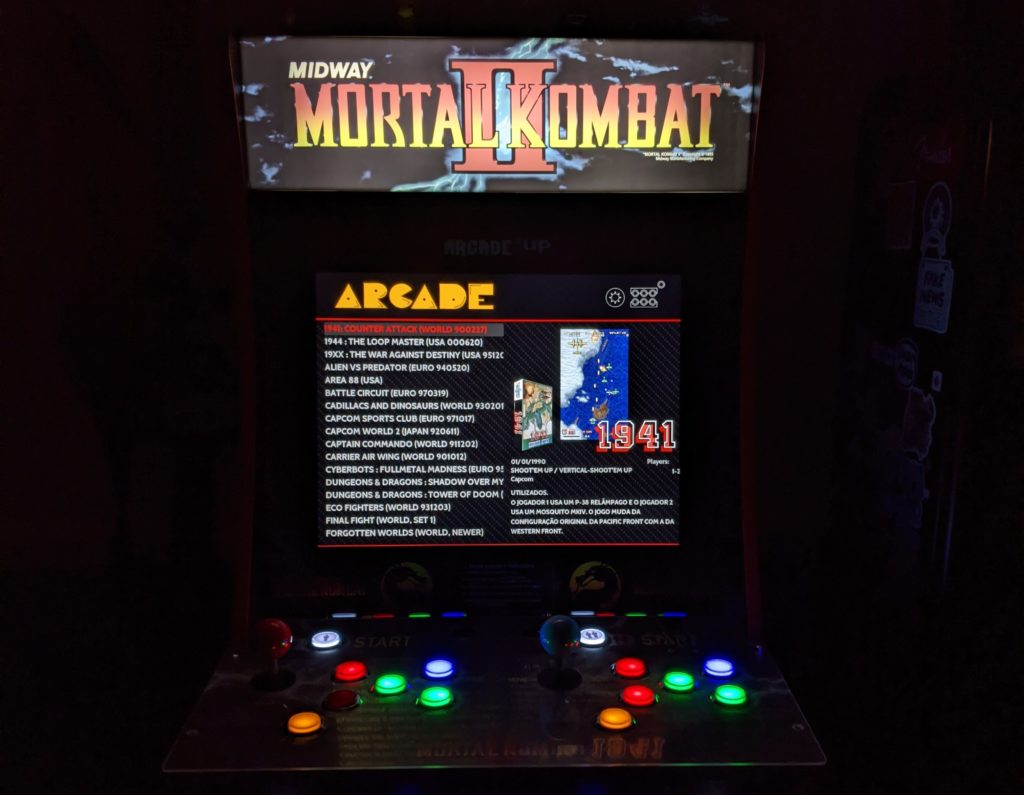
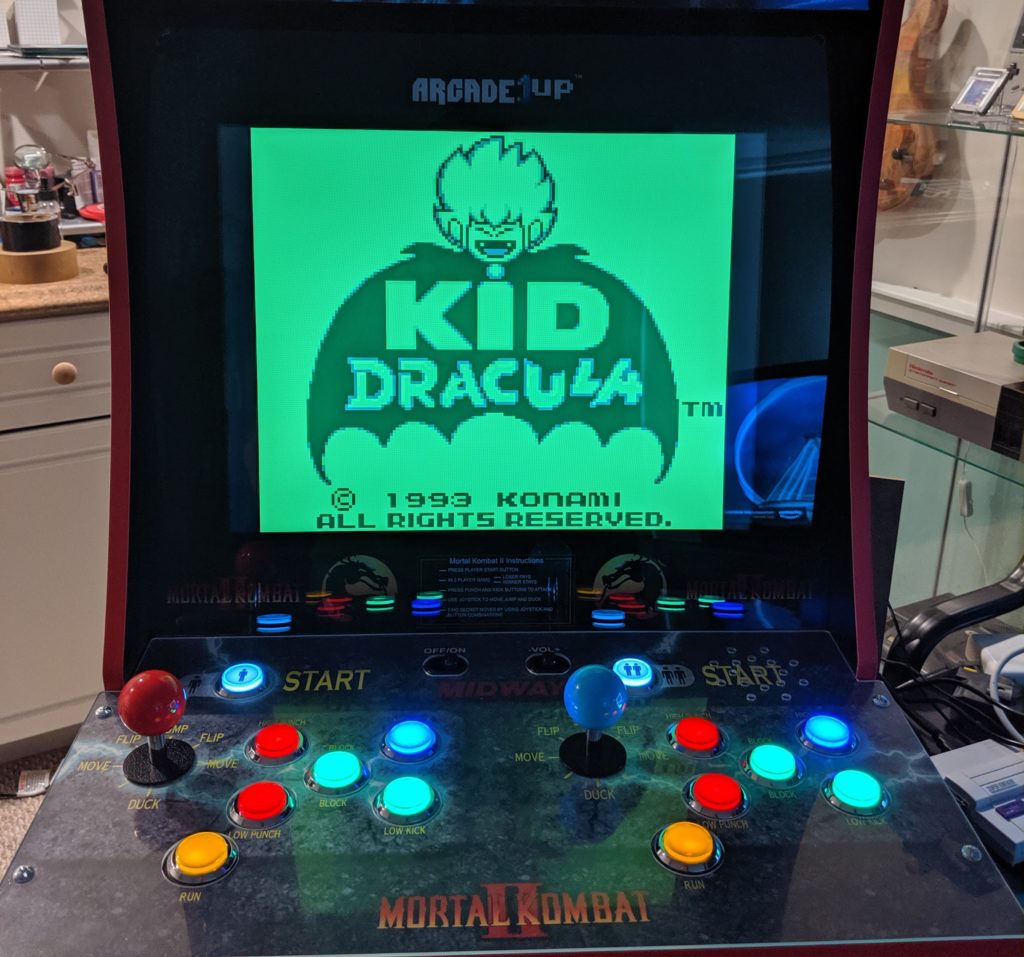
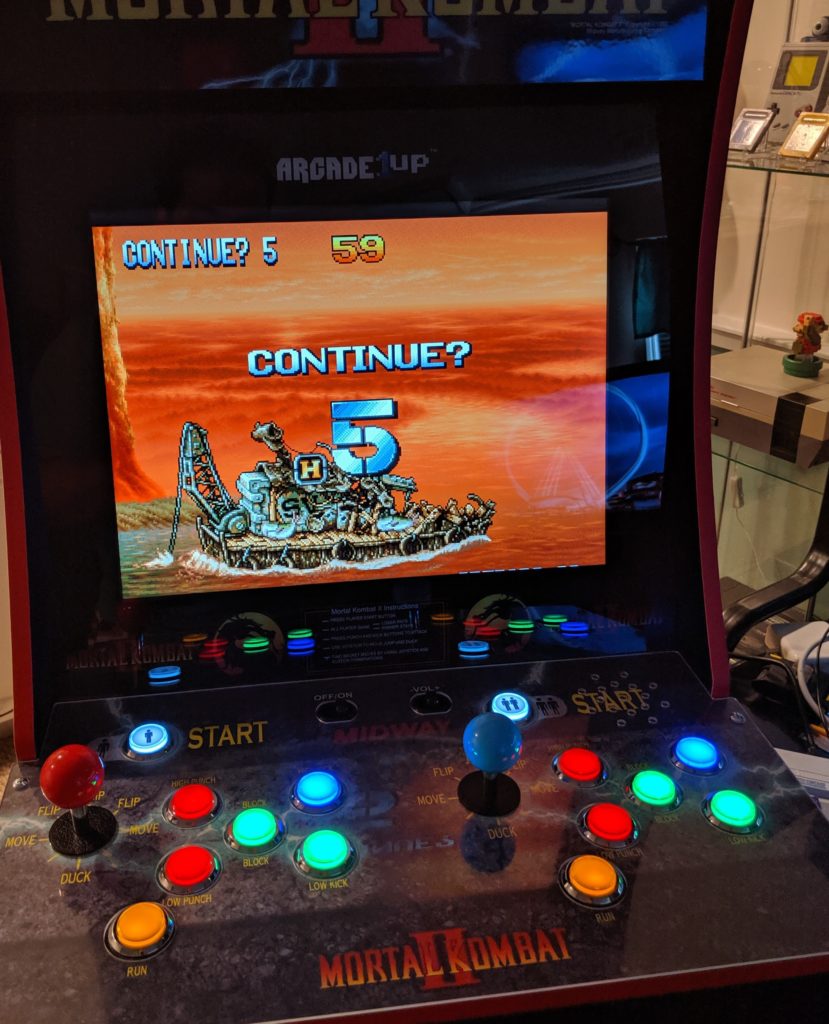
I done my first test with the Game Boy emulator and Kid Dracula. After that worked I moved to test more games.
When I moved to games with a little bit heavier emulation I started to get this error.
under-voltage detected
The documentation for this said “The undervoltage icon is displayed when the voltage the Pi is receiving drops below 4.65V. “. Indeed, I was using a common USB charger. I then moved to a dedicated charger designed for a RPi that could provide enough current and voltage to power the RPi.
Sound system
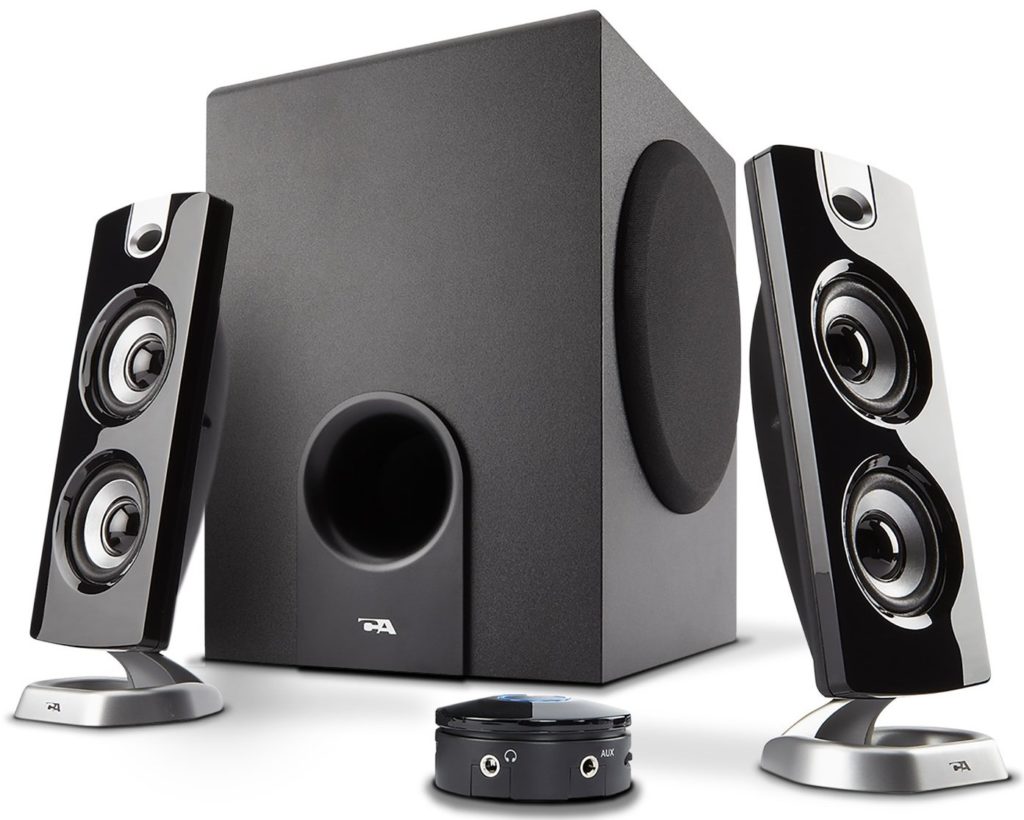
I had some Cyber Acoustics CA-3602FFP 2.1 Speaker Sound System with Subwoofer around that I used here. They are definitively an overkill for this project but I had them around and this could save me the trouble of dealing with amplifiers.
Light Up Marquee
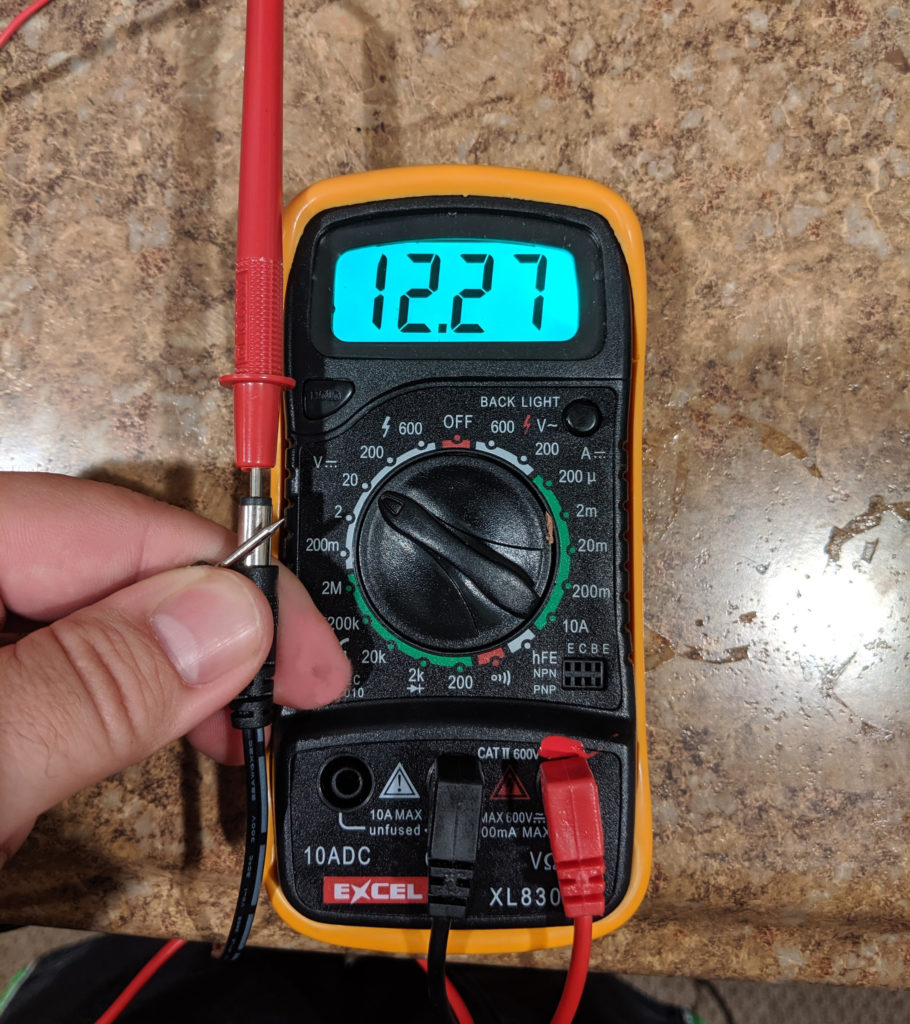
In the original light up marquee was powered by the output of the main board. The original power supply now powers the monitor controller board. I used this splitter cable to send one cable to the controller board and the other the the light up marquee. It’s always worth checking the polarity and voltage of these things.
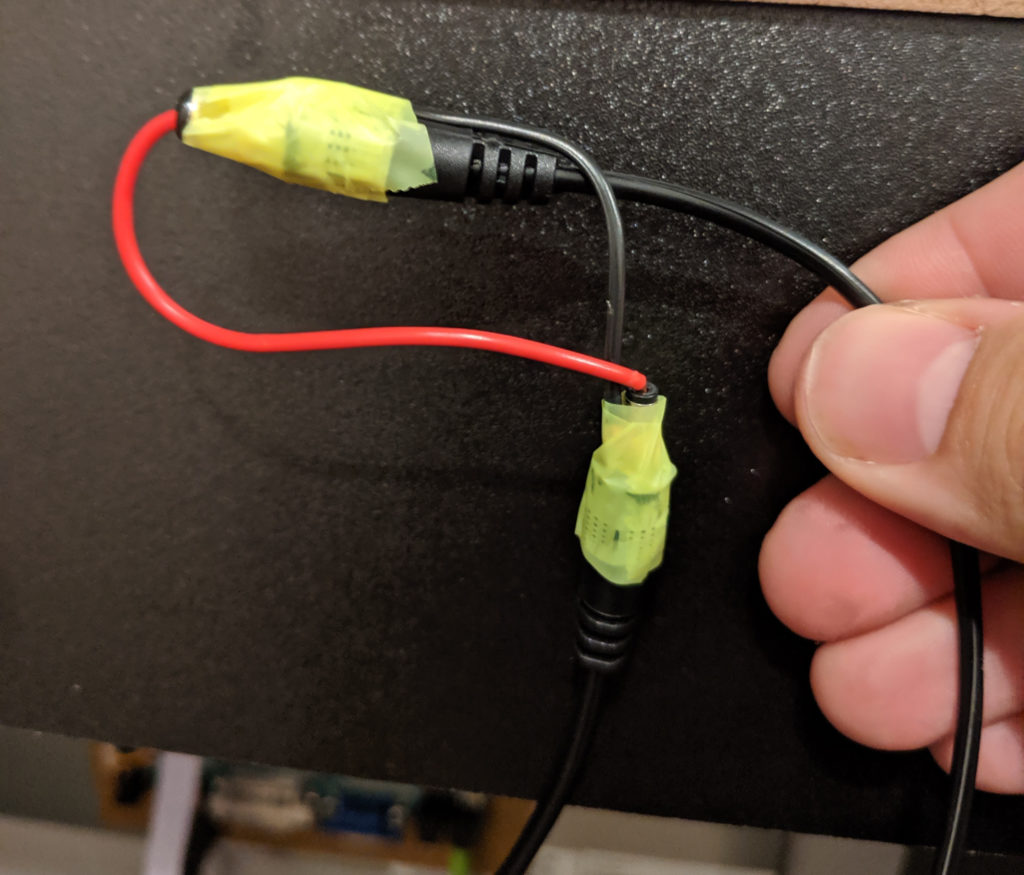
Because the splitter outputs two jack cables (male) and the lightup marquee cable is also a jack I had to do this workaround to connect the two cables. Cutting and reconnecting the cables would also work but I did not want to do that to the marquee cable. Later I will fix this.

Alexa integration
In front of all this I’m using an Amazon Smart Plug so I can say “Alexa, turn the arcade on” and everything is powered with all the lights and sounds. Other people have reused the on/off switch from the original control deck for this.
Conclusion
At this point this arcade cabinet is fully functional and can play hundreds of games. I’m still doing further modifications and improvements but they will come in future posts.